Fix "DNS Server Not Responding Error" with these 10 Tips

With the vast amount of data that is transmitted through the internet, it is essential to have a reliable connection. However, sometimes even the most stable connection can experience issues, one of which is the "DNS Server Not Responding" error.
This error occurs when your device is unable to establish a connection with the DNS server, thereby depriving you of access to the internet.
It can manifest in various ways, from being unable to browse the internet to slow internet speeds, including network connectivity issues, DNS server problems, or incorrect configurations.
This error can be a significant inconvenience, preventing users from accessing their desired websites or online services.
Fortunately, this error can be easily fixed with a few simple steps. In this blog post, we will explore the various causes of this error and provide step-by-step instructions on how to fix it.
Table Of Contents
- What is DNS?
- What is "DNS Server Not Responding" Error?
- How to fix "DNS Server Not Responding" errors?
- Refreshing the page
- Switch to another browser
- Switching to safe mode
- Disconnect from VPN
- Restart your device and router
- Disable secondary connections
- Use the netsh command in Windows
- Disable Windows Peer-to-peer feature
- Reset your IP and clear your DNS cache
- Temporarily disable your Firewall and Antivirus software
What is DNS?
To begin with, DNS is the acronym for Domain Name System which translates human readable domain names to machine readable IP addresses.
For example, a domain name is www.atatus.com and the IP address would be 163.53.78.58,
Henceforth, you may understand DNS server as a computer server that encompasses the database of public IP addresses. It works to translate the IP addresses to domain names as per request. It runs on a special software and protocols to serve its purpose.
When you try to access a website, it’s easier for you to remember domain names rather than IP addresses. However, computers and machines find it hard to deal with domain names directly and rather work well with IP addresses. This is where the DNS server comes into play! It bridges the gap between humans and computers and enables communication between them.
Moreover, DNS servers are otherwise called name servers or nameservers. From this, it can be understood that whenever you enter a web address or domain name in your web browser, it is forwarded to a DNS server from your router. Thereafter, it gets translated to the respective IP address for your request to be processed.
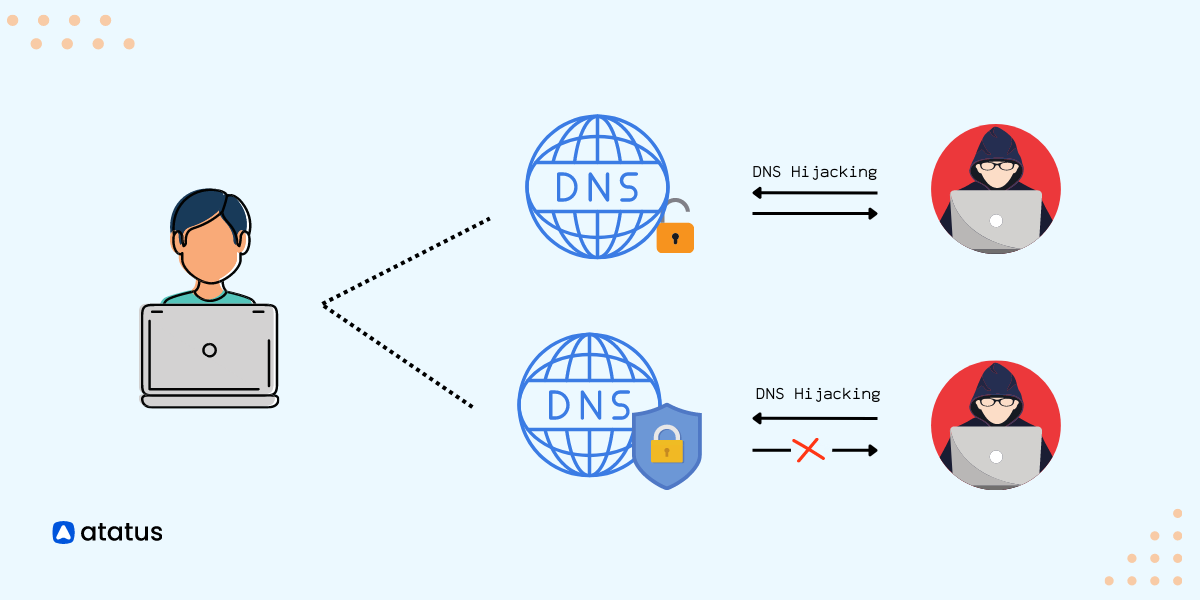
What is "DNS Server Not Responding" Error?
"DNS Server Not Responding" is a common error message that can occur when a device is unable to connect to the DNS server it is trying to use. When a device tries to access a website or other online resource, it first sends a DNS query to a DNS server to translate the domain name into an IP address. If the DNS server does not respond or takes too long to respond, the device may display the error message "DNS Server Not Responding".
Several reasons may cause this error message to occur:
- DNS server issues: The DNS server may be experiencing issues, such as being down, unresponsive, or overloaded with traffic. This can prevent the server from responding to DNS queries.
- Network connectivity issues: If there are network connectivity issues between the client device and the DNS server, the server may not be able to respond to DNS queries. This can be caused by problems with routers, switches, cables, or other network hardware.
- DNS configuration issues: The device may be configured to use an incorrect DNS server address or may have incorrect DNS settings. This can prevent it from reaching the correct DNS server.
- Firewall or antivirus software: Some firewall or antivirus software can interfere with DNS requests, preventing the device from accessing the DNS server.
- Server outage or maintenance: Like any other server, DNS servers can go down for various reasons, such as hardware failure, software issues, or maintenance. If a DNS server is down, it will not respond to DNS queries, resulting in the "DNS Server Not Responding" error.
- DNS cache issues: Sometimes, the DNS cache on a device can become corrupted, preventing it from properly resolving domain names. This can cause the device to send DNS queries to the server, but not receive a response, resulting in the "DNS Server Not Responding" error.
- Malware or security issues: Malware or security threats can sometimes interfere with DNS requests, preventing the device from communicating with the DNS server. This can cause the "DNS Server Not Responding" error to occur.
How to fix “DNS Server Not Responding” errors?
We have so far discussed what DNS is and had a brief on “DNS Server Not Responding” error and what causes it. So, come, let us now look at how to fix this common error on Windows and Mac:
1. Refreshing the page
Force refreshing the page is the most basic troubleshooting method of DNS error. Refreshing your webpage should be your first try. What does refreshing a page do?
Refreshing the webpage tells your web browser to get a fresh copy of the requested page. This could mean a new DNS query and if the issue is of a temporary and simple nature, a simple refresh would fix your problem. Let’s walk through some of the shortcut combinations to force refresh your browser:
- Windows (Chrome browser) – Ctrl + F5
- Windows (Firefox browser) – Ctrl + F5
- Mac (Chrome browser) – Command + Shift + R
- Mac (Firefox browser) – Command + Shift + R
- Safari browser – Command + Option + R
- Microsoft Edge browser – Ctrl + F5
2. Switch to another browser
Testing your DNS connections by switching to a different browser is another basic troubleshooting method. When you get a DNS error from the browser you are using, try switching to another browser. For example, your default browser could be Chrome wherein you enter a URL in it and receive a DNS error in response. You must now switch to another browser from your device, like Firefox or Microsoft Edge to try and resolve your issue.
If your page gets loaded from the other browser, then the cause of the problem would be from the browser. In other words, if switching to another browser solves your problem, then you need to update your default browser to its latest version or try re-installing it.
In case, switching to a different browser does not work, then the problem might not be with the browser.
3. Switching to safe mode
DNS error could also be caused by a malfunctioning operating system. To resolve this problem, you must boot your computer in Safe Mode (Windows). What does safe mode do? Well, it actually reduces the number of files or resources required for running Windows, thereby, helping you to troubleshoot your problem.
To start your computer in safe mode in Windows, follow the steps mentioned below:
i.) Select the Windows button and click on the power icon.
ii.) Hold down the Shift key and select the "Restart" option.
iii.) A window would appear wherein you must click on Troubleshoot > Advanced.
iv.) Under the "Advanced" option, click on Start-up settings > Restart.
v.) From the options being displayed, click on either "Enable Safe Mode" or "Enable Safe Mode with Networking".
Your device would now restart in safe mode. Now you can check if the DNS error is resolved or not.
For Windows version 7 or earlier, follow the below steps:
- Click on Windows > Power > Restart.
- When your device is booting up, hold down the F8 key.
For Mac OS, follow the below steps:
- Click on Apple menu > Restart.
- When your device is restarting and booting up, hold down the Shift key.
- Release the Shift key when the Apple logo appears.
Now your Mac device will start in Safe mode.
If the DNS error is resolved using safe mode, then the problem might have been with the operating system you are using. If this doesn’t resolve your issue, then the cause might be different.
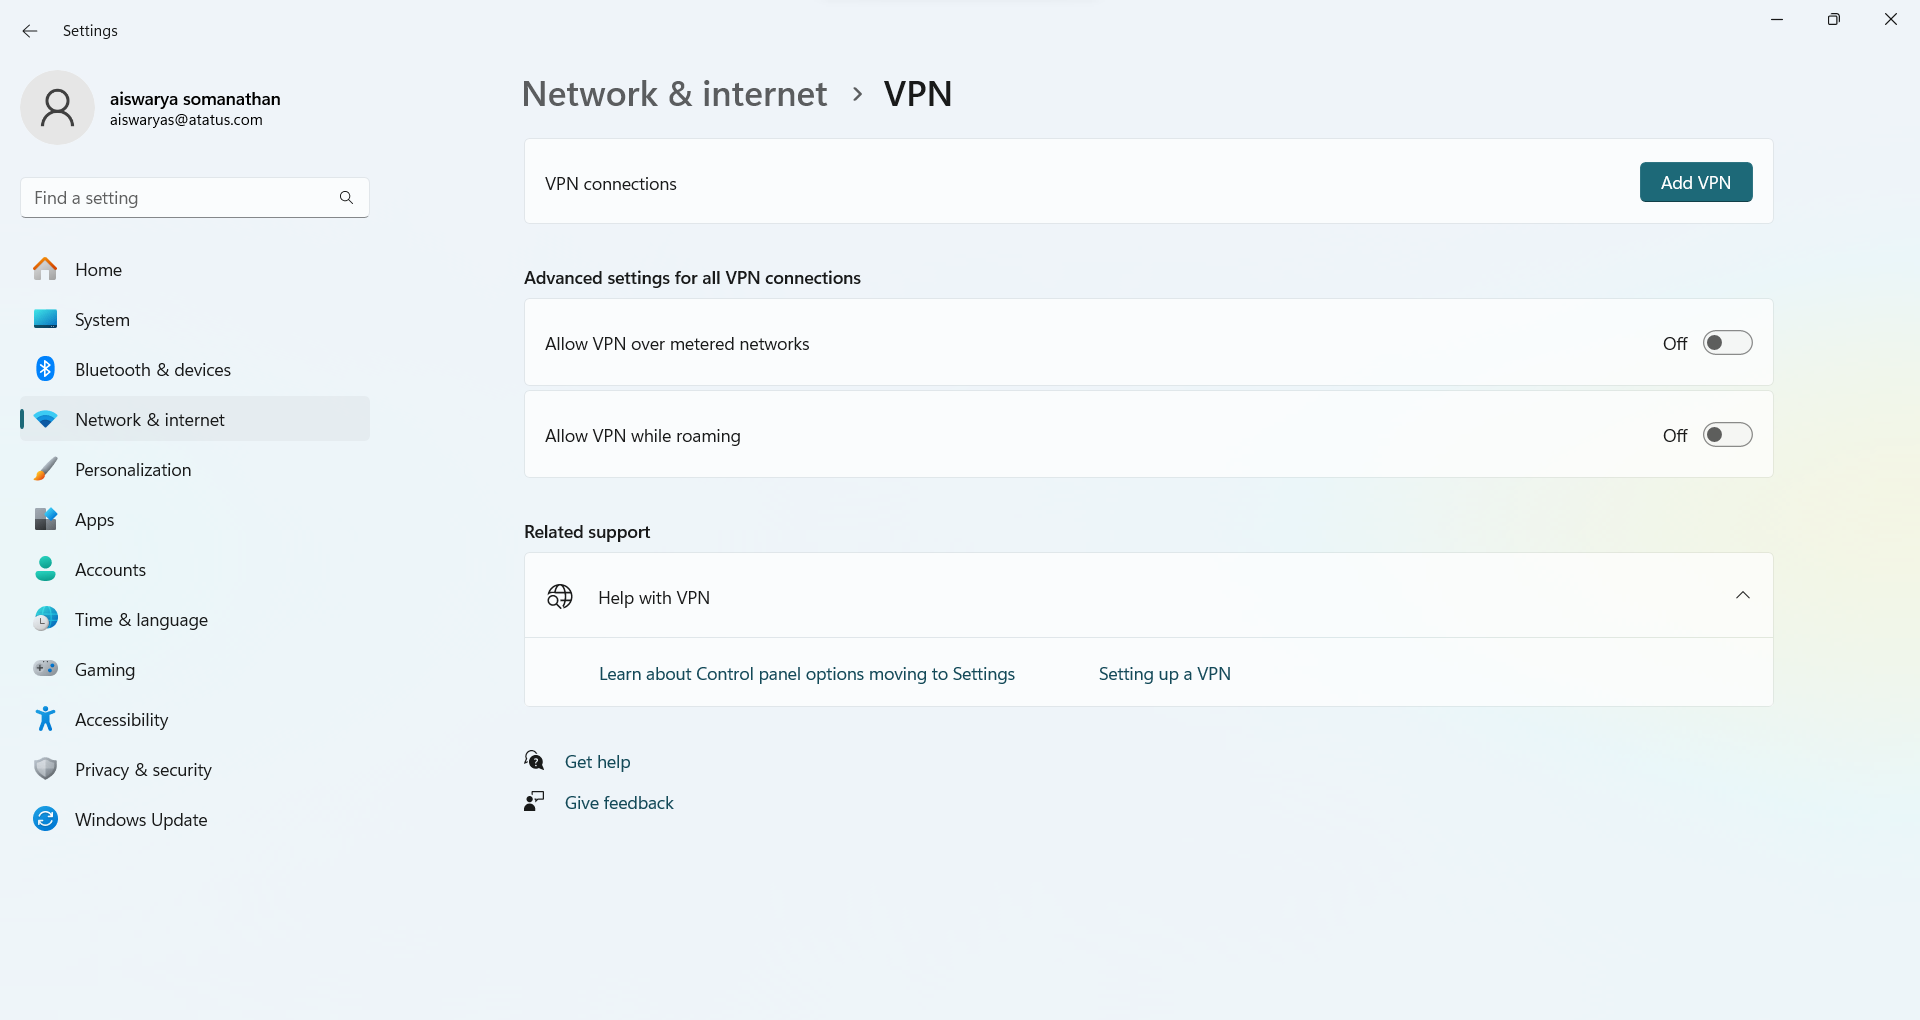
4. Disconnect from VPN
In case you are using a Virtual Private Network, disconnect from it and try accessing the website. Since VPN is a network, it could cause many networking issues which results in DNS errors. Hence, just disconnect from VPN and try accessing the website when you receive a DNS error.
5. Restart your device and router
Restarting devices has quite a number of benefits to it. Digital devices are prone to data corruption. A simple restart of device can fix the following:
- Accidental overwriting of data in memory
- Partial loading of device drivers
- Software corruption
- Data corruption
A simple restart of your device and router will fresh start everything which can evade the corruption which could have caused the DNS error.
6. Disable secondary connections
DNS error could also be caused by the secondary connections you are using. Follow the below steps to disable secondary connections in Windows:
i.) In the search box of your desktop taskbar, type "View network connections".
ii.) Best match would appear and from it, click on "View network connections".
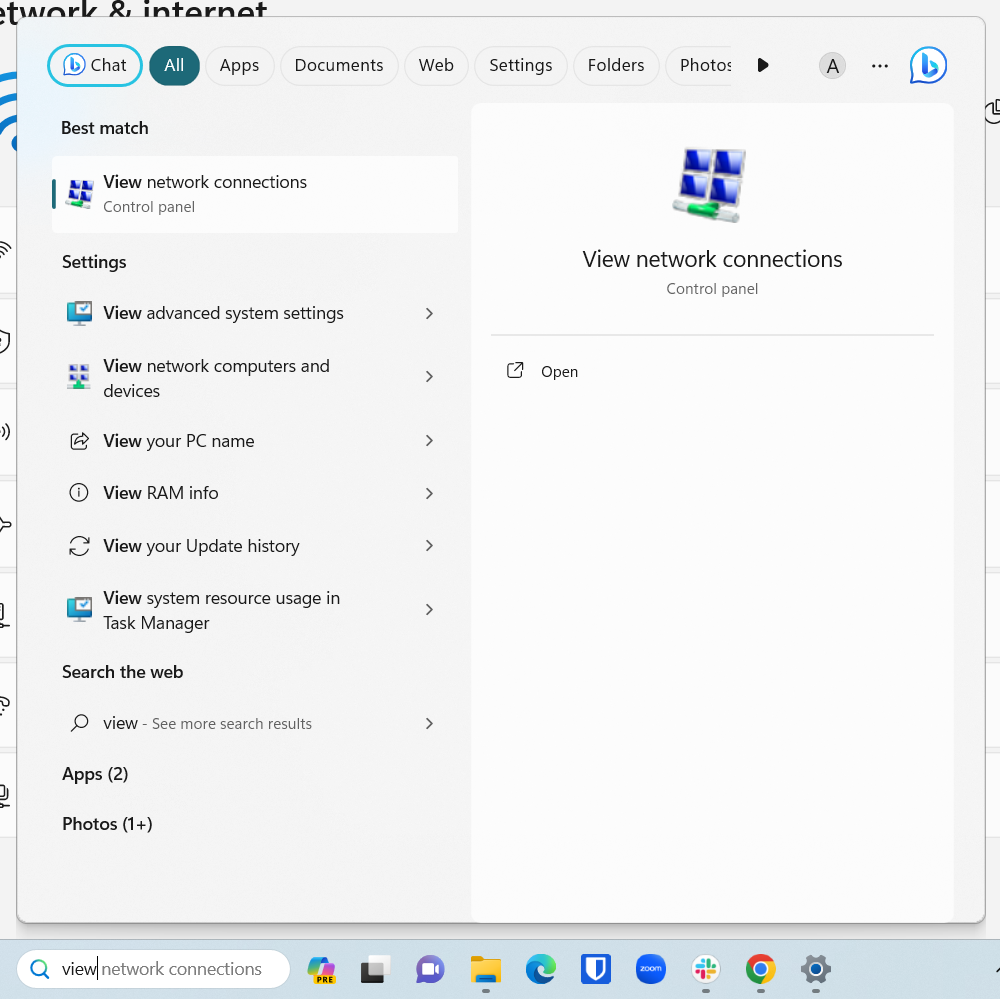
iii.) The network connections page will open. The connections that you are not using will have a red cross to it. Right click on them and click on the "Disable" option respectively.
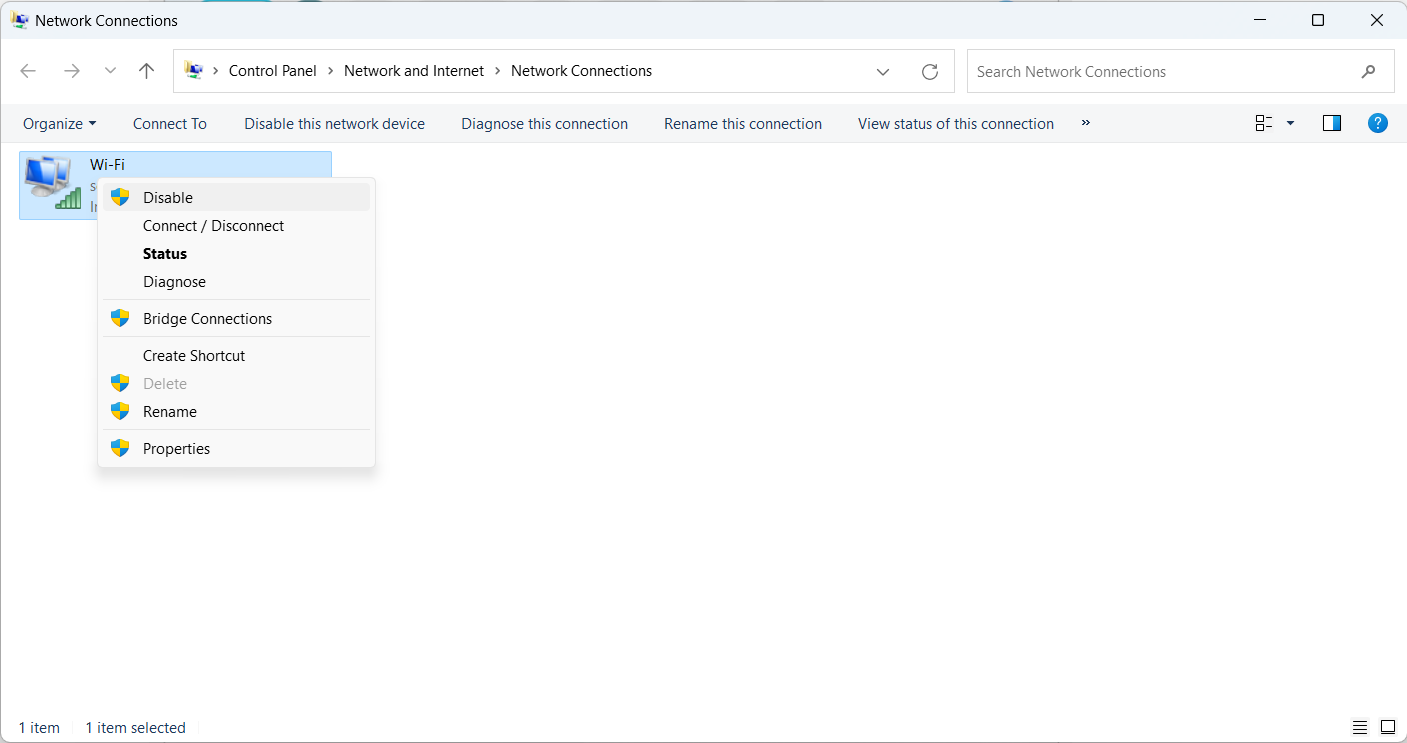
iv.) Restart your browser and try visiting the website again.
For MacOS, follow the steps below:
- Click on Apple icon and navigate to System Preferences > Network
- Your connections will appear on the left side of the window. Select the connection you are not using and click on (-) symbol at the bottom to disable the connection.
- Restart your browser and try visiting the website again.
7. Use the netsh command in Windows
Windows has an extra potential to troubleshoot the DNS error. Windows has an application programming interface that defines how Windows applications should access the network services. This is called the Windows Sockets API or Winsock.
Now, this command called netsh stands for network shell. This command helps you to configure and display the various status of your network communications. In simple words, netsh is a command line utility that displays or modifies the network configuration of your computer.
From this, we get an idea that both of them handle networking in Windows. Since Winsock deals with network configuration and communication, it is prone to causing errors. That is why you might need to reset Winsock to set your network settings to default.
Follow the below steps to use netsh command in Windows:
- In the Windows search box, type "cmd".
- Right click the Command Prompt entry in the menu and select "Open as Administrator".
- Type
netsh int ip resetin the Administrator Command Prompt Window and press Enter. - Then, type
netsh winsock resetand press Enter. - Restart your computer.
This will reload the network configuration in Windows. After the system restarts, try visiting the website from your browser.
8. Disable Windows Peer-to-peer feature
Windows 10 has a feature called Peer-to-peer. This feature allows several network devices to share resources and communicate directly with each other. Moreover, it conserves your computer’s download bandwidth. Interestingly, it allows you to download and install Windows updates on your device and share it with other devices in your local network.
Due to its primary function on networking, it could be a cause for DNS error. Hence, follow the below steps to disable peer-to-peer feature in Windows 10:
i.) Click on Windows icon and select Settings icon.
ii.) Click on "Update & Security".
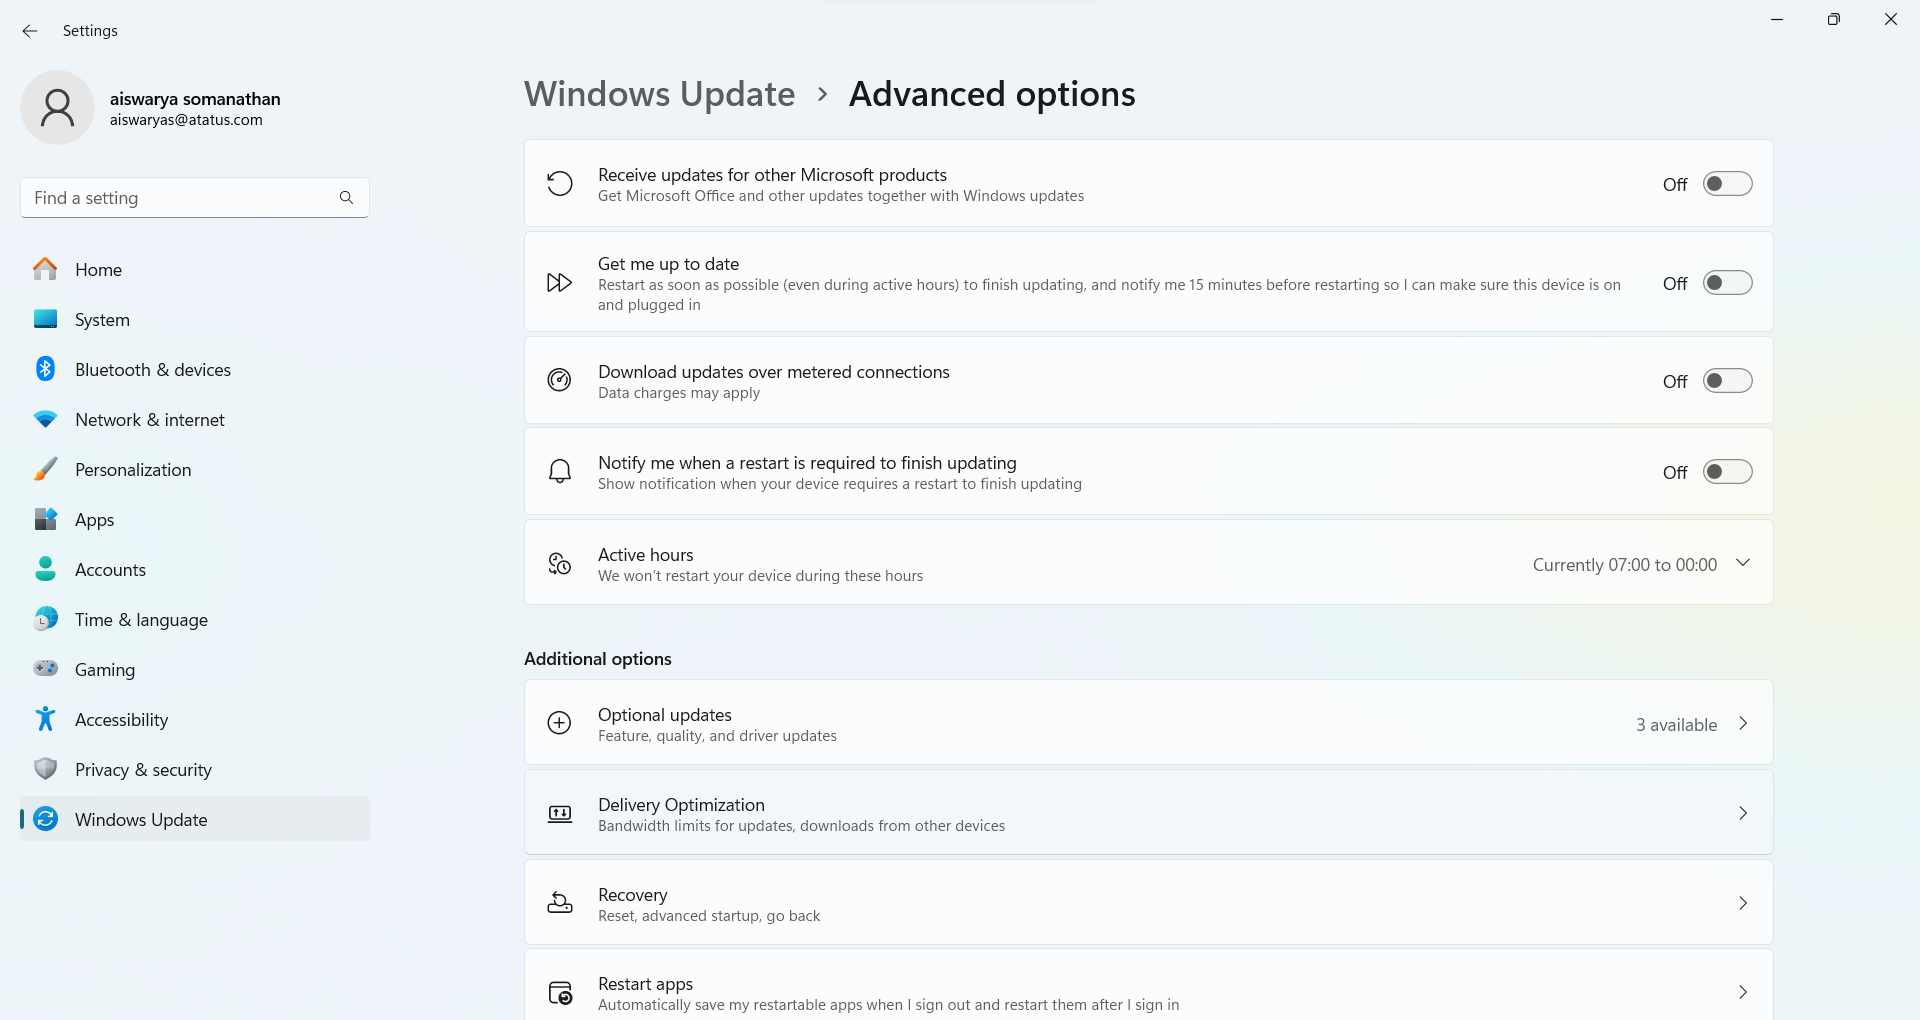
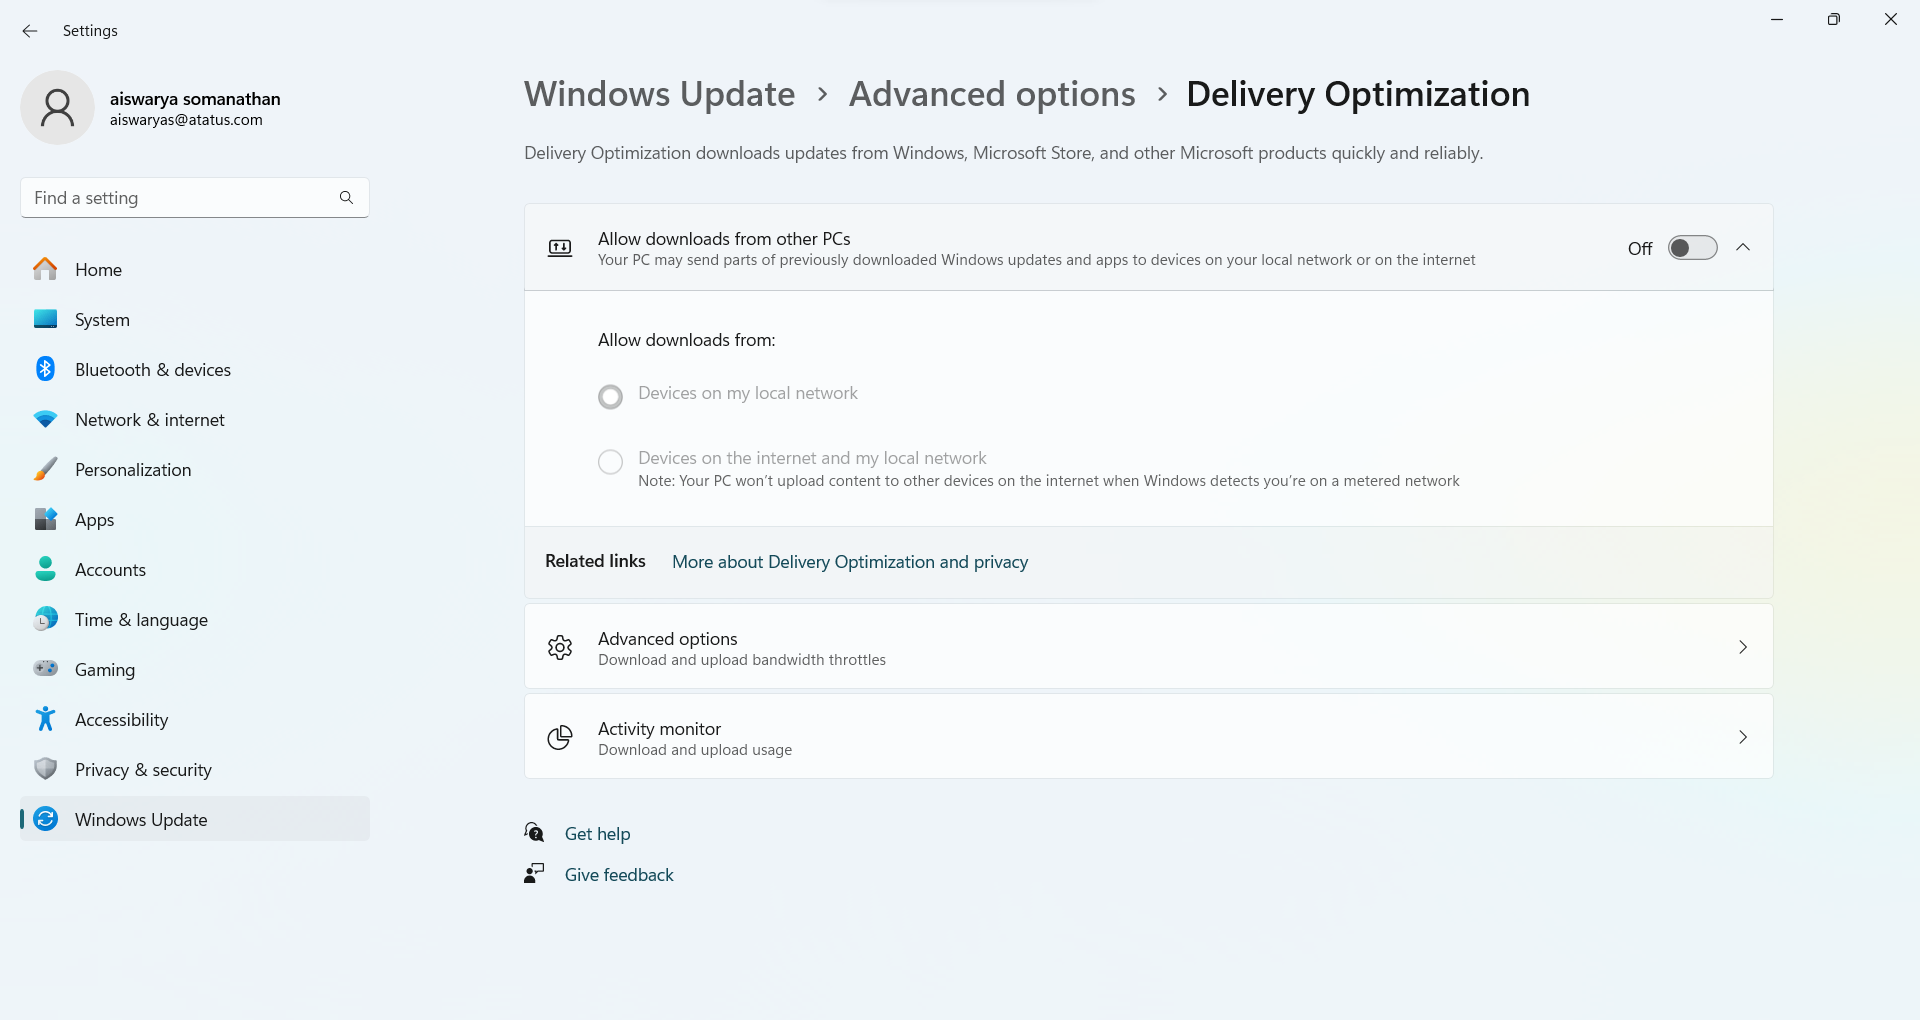
iii.) From the left-hand side of Windows, select the "Delivery Optimization" option.
iv.) From the "Allow downloads from other PCs" option, toggle the switch to disable it.
v.) Restart your computer and try accessing the website again.
9. Reset your IP and clear your DNS cache
DNS errors could be caused by DNS settings too. That is why you need to clear the DNS cache and reset your IP.
For Windows, follow the below steps:
- In the search box of the Windows, type "cmd".
- Select Command Prompt Application.
- A window would appear wherein you must type
ipconfig/flushdnsand press Enter key. - The command would be processed after which a message would be displayed stating that the DNS cache was successfully cleared. Now, you must repeat the process for the IP configuration using the following commands:
ipconfig /registerdnsipconfig /releaseipconfig /renewFor Mac OS, follow the below steps:
- Open the Terminal application by pressing Command + Space keys and then type “Terminal” into spotlight.
- Enter the code
dscacheutil -flushcachein the Terminal application window and press Enter. - You might not receive a message like that on Windows but the DNS cache would have been cleared after the command is processed.
10. Temporarily disable your Firewall and Antivirus software
A third-party application could also be a reason for DNS error. For this you need to disable your Firewall and Antivirus software temporarily since they are critical for safeguarding your devices. These software can cause issues in network connections which ultimately results in DNS error.
Follow the below steps to temporarily disable your Firewall and Antivirus software in Windows:
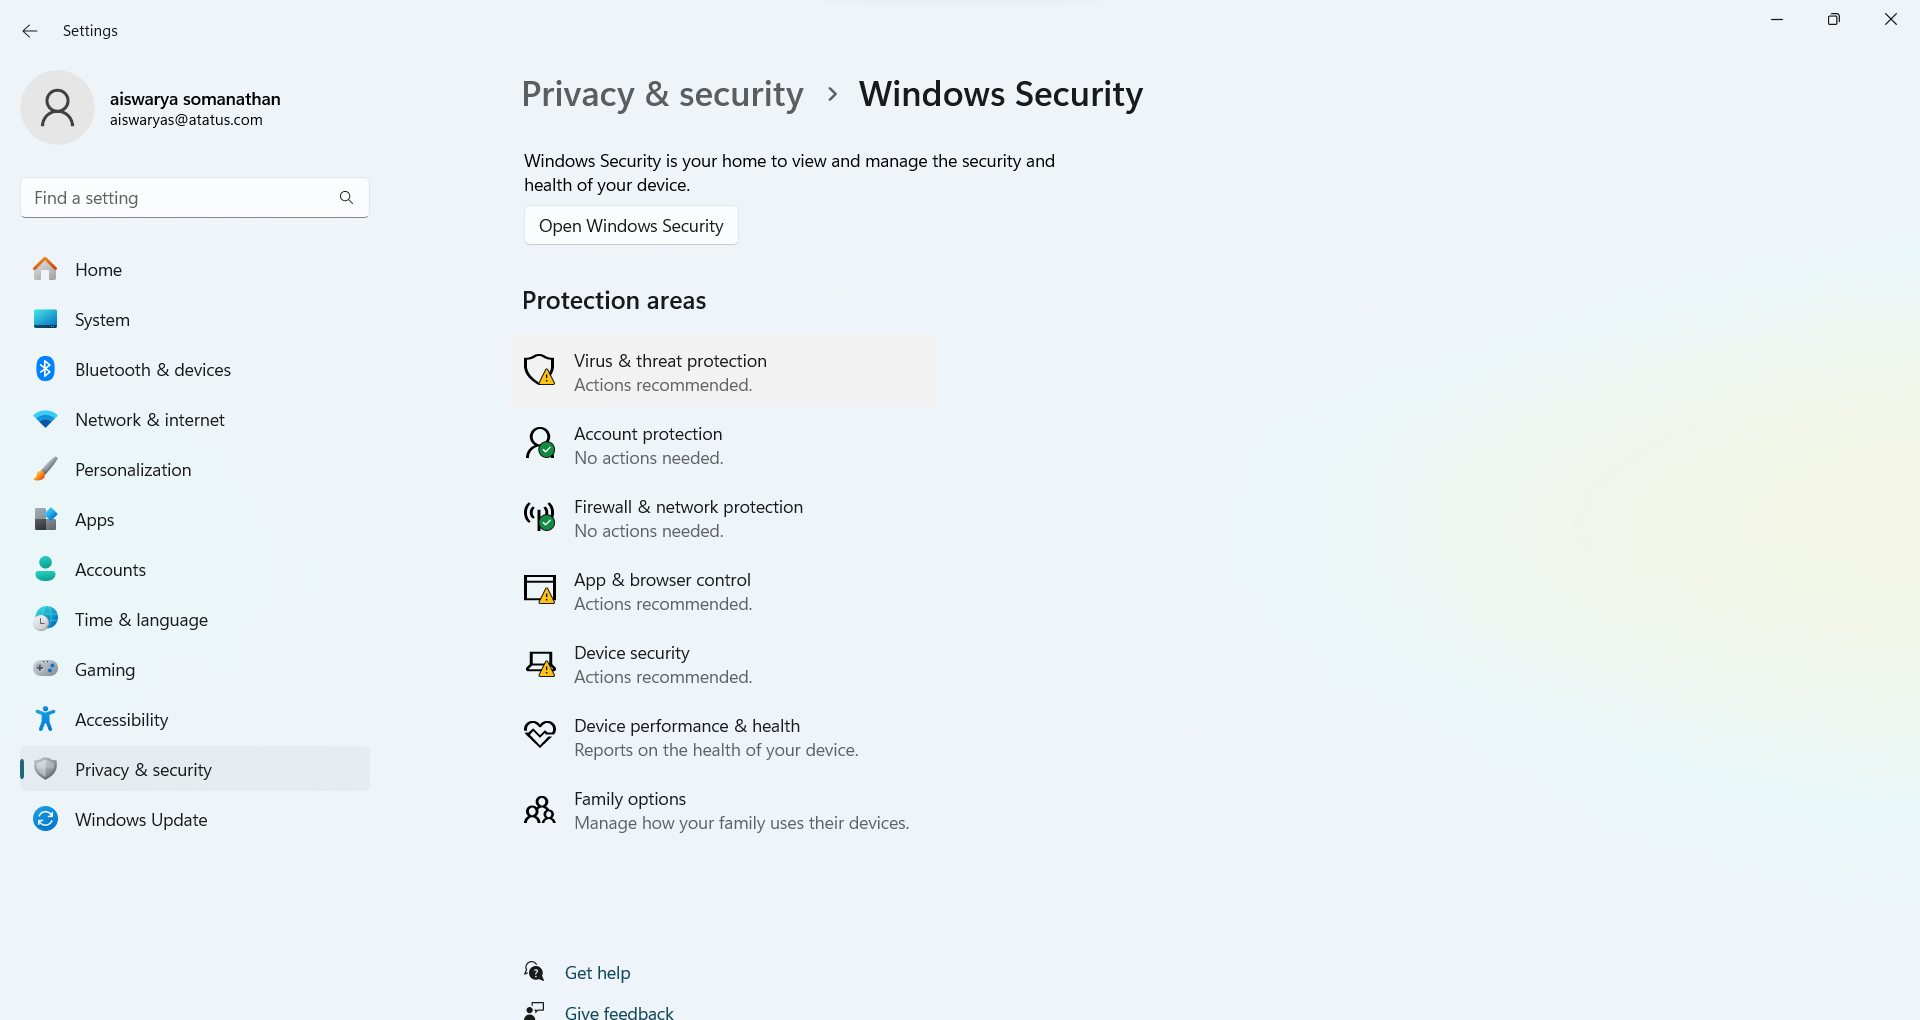
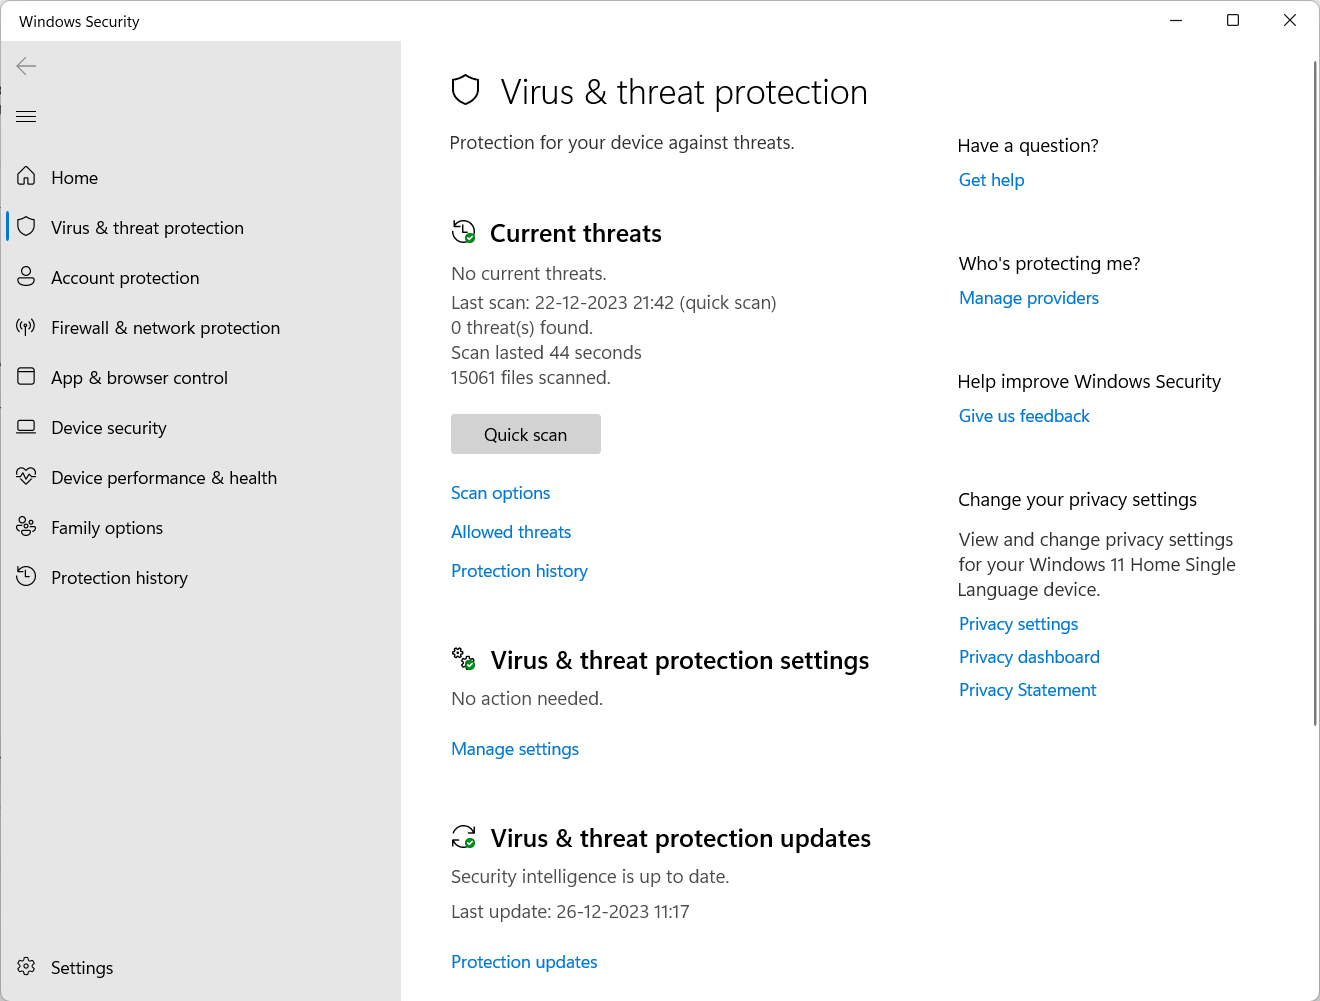
i.) Go to Settings > Privacy & Security > Windows Security.
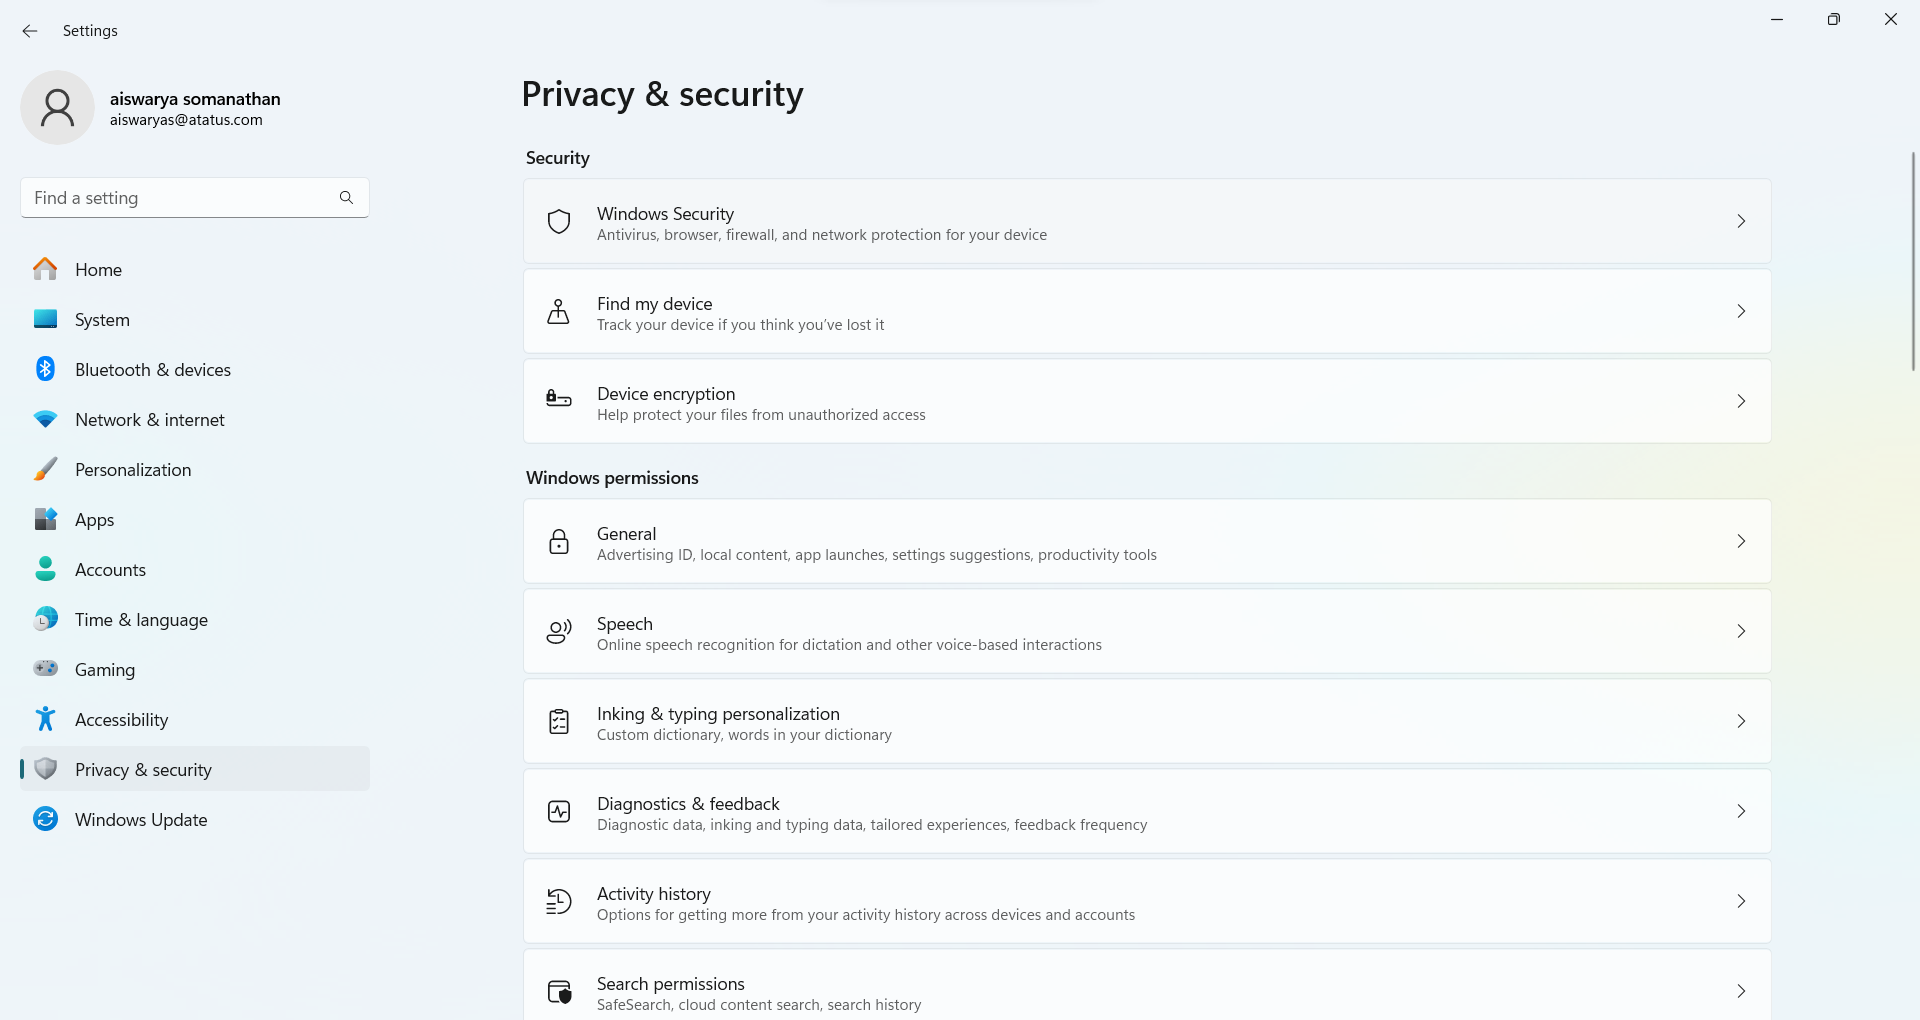
ii.) Then, click on Virus & Threat Protection > Manage Settings
iii.) Temporarily deactivate Firewall and Antivirus software.
For Mac, the steps would be as follows:
- Click on System Preferences > Security & Privacy > Firewall.
- Temporarily deactivate Firewall.
After following the respective steps based on your OS, try accessing the website again. If the DNS issue gets resolved, then reconfigure the settings for your antivirus software. Otherwise, consider switching to another anti-software.
Most importantly, don’t forget to reactivate Firewall in your device once DNS troubleshooting is done!
Conclusion
DNS plays a vital role in communication and enabling results to the user. It paves way for accessing information by the users. And thus, it is important to learn various methods to troubleshoot the issue with DNS so that it comes in handy whenever needed. This is a summary of all the points we've discussed in the blog:
- Refresh the page: Sometimes, a simple refresh can resolve temporary network glitches.
- Switch to another browser: Switching browsers can help determine if the issue is browser-specific.
- Switch to safe mode: Booting into safe mode can disable any conflicting software that might be causing the issue.
- Disconnect from VPN: VPN connections can sometimes interfere with DNS settings. Disconnecting may help.
- Restart device and router: A reboot can refresh network settings and resolve any temporary issues.
- Disable secondary connections: Turn off any additional network connections that might be causing conflicts.
- Use the netsh command in Windows: Running commands like "ipconfig /flushdns" or "netsh winsock reset" can reset network configurations.
- Disable Windows peer-to-peer feature: Some Windows features can interfere with DNS. Disabling them might help.
- Restart IP and clear DNS cache: Renewing your IP address and clearing the DNS cache can resolve DNS-related issues.
- Temporarily disable firewall and antivirus software: Security software might be blocking DNS requests. Temporarily disabling them can help diagnose the issue.
Global DNS Monitoring with Atatus
Atatus offers DNS Monitoring feature that helps users monitor the performance and availability of their DNS servers. It helps users ensure that your DNS servers are performing optimally, reducing the risk of website downtime and slow response times, and providing a reliable and fast experience for their users.
With Atatus DNS Monitoring, users can monitor their DNS servers from multiple locations worldwide to ensure that their domain names are resolving correctly and quickly. This feature allows users to:
- Monitor DNS uptime and response time: Atatus monitors the availability and performance of DNS servers and alerts users if there are any issues.
- Troubleshoot DNS issues: Atatus provides detailed information on DNS queries and responses, allowing users to quickly identify and fix any issues.
- Test DNS from multiple locations: Atatus tests DNS resolution from multiple locations worldwide, providing users with a global view of their DNS performance.
#1 Solution for Logs, Traces & Metrics
![]() APM
APM
![]() Kubernetes
Kubernetes
![]() Logs
Logs
![]() Synthetics
Synthetics
![]() RUM
RUM
![]() Serverless
Serverless
![]() Security
Security
![]() More
More