Kubernetes Scheduler - A Comprehensive Guide

In the world of Kubernetes, where applications are encapsulated within containers and seamlessly distributed across diverse clusters of computers, the enigmatic Kubernetes scheduler takes centre stage.
Think of it as the orchestra conductor of your Kubernetes cluster, orchestrating a symphony of resources to ensure seamless operations. This unassuming yet powerful component leverages a sophisticated algorithm to perform the intricate dance of optimizing resource allocation.
It juggles factors like the resource needs of pods, the capacities of nodes, and user-defined policies to create a harmonious ensemble of containers. But, what's the method behind this apparent magic?
How does it determine the ideal home for your application containers? Join us in demystifying the Kubernetes scheduler, understanding its decision-making process, and unravelling the logic behind its resource allocation wizardry.
Table of Contents
- What is Kubernetes Scheduler?
- How does Kubernetes Scheduler works?
- Why Efficient Scheduling Matters in Kubernetes?
- Kubernetes Labels and Node Selectors for Controlling Pod Placement
- Node Selector with Affinity
- Pod affinity and Anti affinity
What is Kubernetes Scheduler?
The Kubernetes scheduler is a vital part of Kubernetes, responsible for figuring out the best places to run your containers within a cluster. In a nutshell, it determines which computers (nodes) in the cluster are the most suitable to host each component of your application (containers). It makes these decisions based on factors such as available resources, defined rules, and desired preferences.

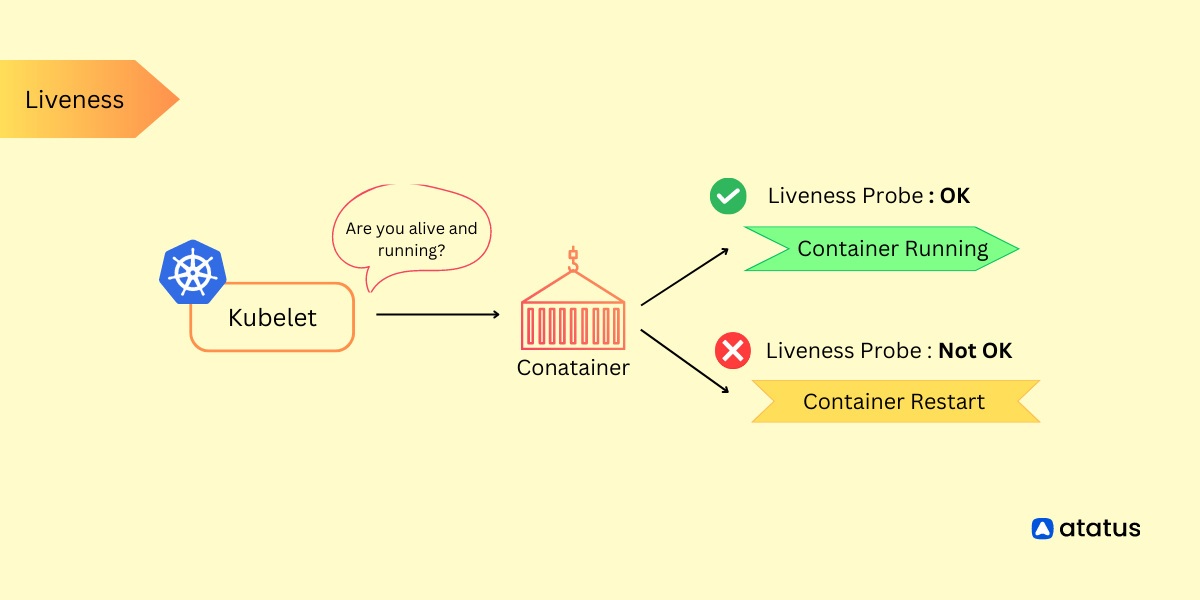
However, it is important to note that while the scheduler determines where each pod should run, it is not responsible for actually running the pod—that's the kubelet's job. Instead, the scheduler's primary focus is ensuring that every pod has a node assigned to it, which is essential for orchestrating the efficient deployment and management of containerized applications in a Kubernetes cluster.
How does Kubernetes Scheduler works?
Now that we know what the scheduler is, wouldn't it be interesting to see how it actually does its job? Let's take a closer look to understand how it works and what makes it tick.
- Pod Queue: Initially, every pod that needs scheduling is added to a queue. This queue contains pods waiting to be assigned to a node.
- Continuous Monitoring: As new pods are created or become available for scheduling, they are also added to the queue. The scheduler continuously watches this queue.
- Scheduling Decision: The scheduler's main job is to take pods off the queue and make decisions about where to place them within the cluster. It evaluates various factors like resource requirements, node preferences, and constraints to find the best-suited node for each pod.
- One Chance: Interestingly, if a pod fails to get scheduled for some reason, there's typically nothing in the scheduler's core functionality that would automatically retry scheduling it. Once a pod is taken off the queue and the scheduler fails to assign it to a node, it doesn't get another chance by default. You would need to intervene, such as by restarting the scheduler, to give it another opportunity.
- Error Handling: However, the Kubernetes scheduler is more sophisticated than this simplified view suggests. In practice, when a pod fails to schedule, it often triggers an error handler. This error handler can perform actions like logging the error, rescheduling the pod at a later time, or taking other corrective measures to ensure the pod eventually gets placed on an appropriate node.

Why Efficient Scheduling Matters in Kubernetes?
Efficient scheduling is crucial because it helps us make the most out of our time and resources. It contributes to the enhancement of productivity and the reduction of stress by ensuring that tasks and activities are appropriately prioritized and executed in a timely fashion.
Efficient scheduling helps distribute workloads across the cluster, reducing the risk of single points of failure. It can help enforce security and compliance policies. For example, you can schedule certain pods on nodes with specific security features or compliance requirements, enhancing the security posture of your applications.
The significance of efficient scheduling lies in its potential to streamline operations, enhance time management, and ultimately promote the overall efficiency and success of individuals and entities.
Kubernetes Labels and Node Selectors for Controlling Pod Placement
Kubernetes labels function as metadata tags that can be affixed to various components within a Kubernetes cluster.
By doing this, you can easily identify and group them. When you use node selectors alongside labels, it's like telling Kubernetes, put this pod on a worker machine that has certain qualities.
This approach contributes to efficient resource allocation and facilitates workload isolation, ultimately enhancing the overall management and performance of the cluster.
Labels: Identifying and Organizing Resources
Labels are key/value pairs that you can manually attach to various Kubernetes objects, such as pods, nodes, and services. They serve multiple purposes:
- Identification: Labels help identify and categorize objects.
- Organization: Labels allow you to organize and group resources logically. You can use labels to create a hierarchy or structure within your cluster, making it easier to manage and monitor.
- Selection: Labels provide a powerful means of selecting subsets of objects. This is especially useful when you want to perform operations or apply policies to specific sets of pods or nodes.
Node Selectors: Controlling Pod Placement
One of the simplest yet effective ways to influence where your pods are scheduled within a Kubernetes cluster is by using a node selector. Node selectors are a straightforward method to control the placement of your pods within a Kubernetes cluster.

(i.) Node Labelling
Imagine you have a Kubernetes cluster with three worker nodes. You label these nodes with specific attributes as given below,
Node A: gpu-enabled=true, high-memory=false
Node B: gpu-enabled=false, high-memory=true
Node C: gpu-enabled=true, high-memory=true
(ii.) Pod Configuration
In the context of the previously mentioned labels, if you intend to deploy a pod for a machine learning application that demands GPUs and substantial memory resources, it's essential to include a node selector in your pod's configuration. The pod's node Selector is configured to ensure that it runs on nodes labelled as having GPUs enabled and high memory capacity.
(iii.) Scheduling
In the scheduling phase, the scheduler selects Node C, which matches both criteria, and deploys the pod on Node C, ensuring it has the necessary resources for your application.
Thus, Node selectors offer the flexibility to adapt to various use cases by allowing pods to be placed on nodes with specific attributes, making them well-suited for tasks requiring particular hardware configurations or isolation requirements.
Node Selector with Affinity
Node affinity and node selector are both methods in Kubernetes for determining where pods should be scheduled based on node labels. However, they differ in their complexity and control:
Node selector is the simpler of the two. You specify node labels directly in the pod's YAML configuration using the nodeSelector field. This approach allows you to match pods to nodes with specific labels, but it lacks the granularity and advanced features of node affinity.
On the other hand, node affinity is a more advanced and versatile feature. It enables you to establish rules dictating where pods can or should be scheduled based on node labels. Node affinity introduces two distinct rule types:
requiredDuringSchedulingIgnoredDuringExecution: This rule enforces strict requirements, ensuring that the pod is scheduled only on nodes that precisely match the specified criteria.preferredDuringSchedulingIgnoredDuringExecution: This rule suggests preferred nodes based on the given criteria but still permits the pod to be scheduled on other nodes if a perfect match isn't available.
While both node selector and node affinity utilize node labels to guide pod placement, node affinity offers greater sophistication and control, especially when you need to express preferences or constraints for scheduling pods on nodes with specific attributes. Node affinity is a more advanced and powerful tool for fine-tuning pod placement within your Kubernetes cluster.
Pod affinity and Anti affinity
Pod affinity and anti-affinity are important concepts in Kubernetes that allow you to influence how the Kubernetes scheduler places pods onto nodes based on specific conditions or criteria. Understanding and effectively using them can lead to more efficient and resilient applications.
Pod affinity - It is a way to specify rules that dictate where a pod should be scheduled based on the presence of other pods on the same node. It helps in spreading or co-locating related pods, improving performance, resilience, and resource utilization.
You can use pod affinity to ensure that microservices that communicate frequently are scheduled on the same node to reduce network latency. For example, a web server and a caching service can be scheduled together.
affinity:
  podAffinity:
    requiredDuringSchedulingIgnoredDuringExecution:
    - labelSelector:
        matchExpressions:
        - key: "app"
          operator: In
          values:
          - "my-app"
      topologyKey: "kubernetes.io/hostname"
In this example, the pod affinity rule states that this pod should be scheduled on a node where there is already a pod with the label "app=my-app."
Pod anti-affinity - As the name suggests, it prevents pods from being scheduled on nodes where pods with specific characteristics are already running. This is used to enhance availability and fault tolerance by spreading pods apart. Ensure that pods of the same application don't run on the same node, reducing the impact of node failures.
affinity:
  podAntiAffinity:
    requiredDuringSchedulingIgnoredDuringExecution:
    - labelSelector:
        matchExpressions:
        - key: "app"
          operator: In
          values:
          - "my-app"
      topologyKey: "kubernetes.io/hostname"
In this example, the pod anti-affinity rule prevents this pod from being scheduled on a node where there is already a pod with the label "app=my-app."
Conclusion
Kubernetes scheduler is the master mind behind efficient container placement within a cluster, considering factors like resource requirements, node attributes, and user-defined policies.
Labels and selectors are powerful tools for guiding pod placement, while pod affinity and anti-affinity help optimize performance and fault tolerance. Efficient scheduling in Kubernetes is essential for maximizing resource utilization, improving resilience, enhancing security, and ultimately promoting overall operational efficiency and success.
Efficient scheduling isn't just about resource optimization; it's about enhancing performance, resilience, and security. It's a critical element in streamlining operations and time management, ultimately contributing to the success of individuals and organizations in managing containerized applications within a Kubernetes environment.
With the right scheduling strategies, Kubernetes clusters can operate smoothly and effectively, making the most of available resources and ensuring that workloads are managed efficiently and securely.
Atatus Kubernetes Monitoring
With Atatus Kubernetes Monitoring, users can gain valuable insights into the health and performance of their Kubernetes clusters and the applications running on them. The platform collects and analyzes metrics, logs, and traces from Kubernetes environments, allowing users to detect issues, troubleshoot problems, and optimize application performance.
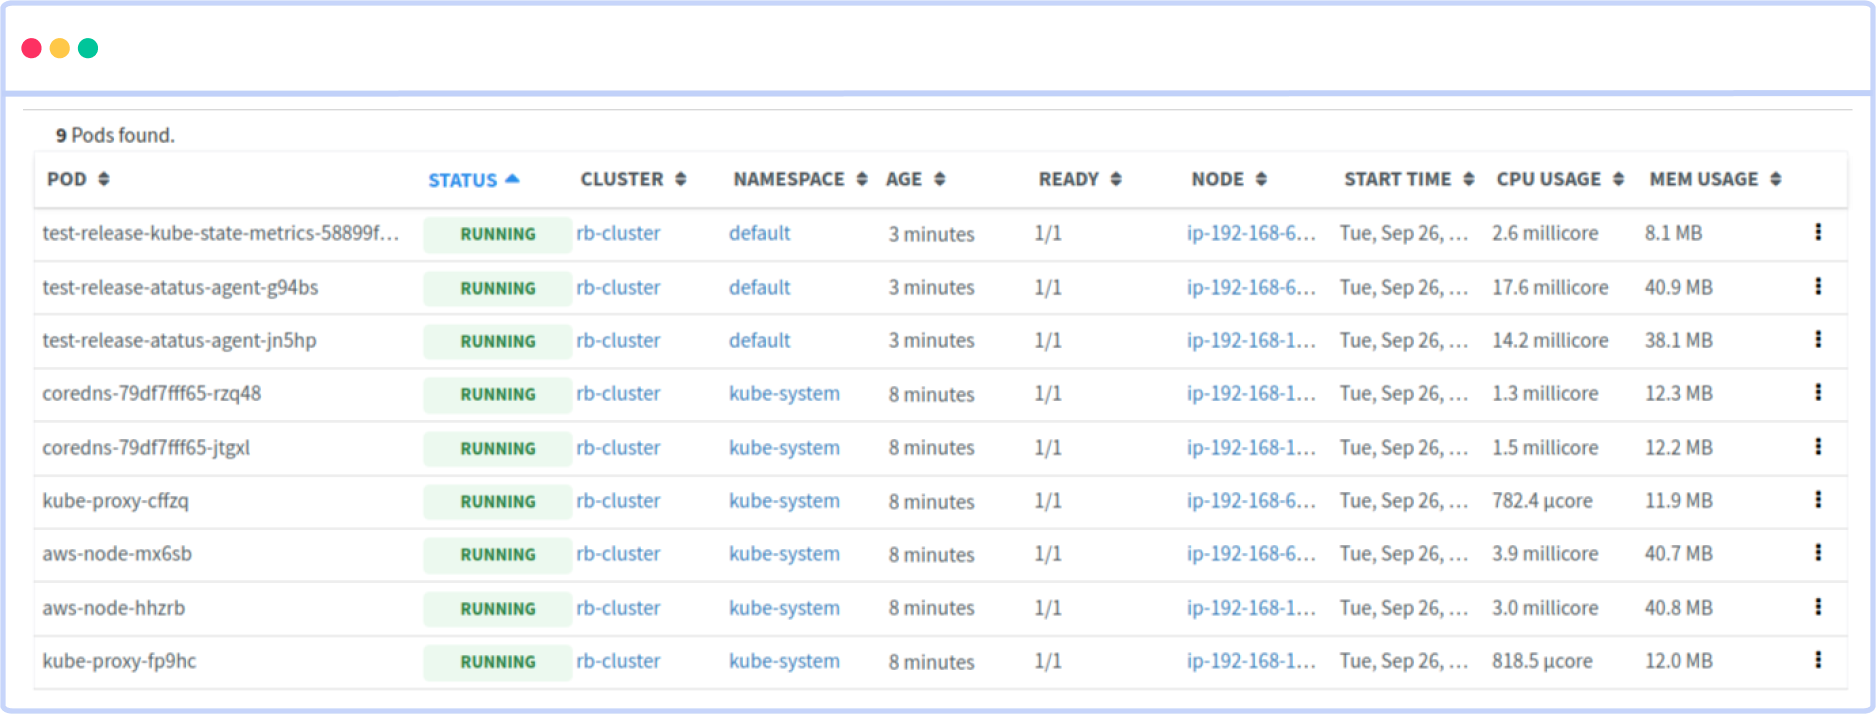
You can easily track the performance of individual Kubernetes containers and pods. This granular level of monitoring helps to pinpoint resource-heavy containers or problematic pods affecting the overall cluster performance.
#1 Solution for Logs, Traces & Metrics
![]() APM
APM
![]() Kubernetes
Kubernetes
![]() Logs
Logs
![]() Synthetics
Synthetics
![]() RUM
RUM
![]() Serverless
Serverless
![]() Security
Security
![]() More
More