Rootless Containers - A Comprehensive Guide
Containers have gained significant popularity due to their ability to isolate applications from the diverse computing environments they operate in. They offer developers a streamlined approach, enabling them to concentrate on the core application logic and its associated dependencies, all encapsulated within a unified unit.
However, traditional container runtimes like Docker typically require root access because they interact closely with the host operating system's kernel and require certain privileges to manage containers and their resources effectively. They rely on specific permissions to effectively manage containers and allocate resources.
This is where the concept of "rootless containers" comes into play. Have you heard the term rootless containers before? If not, you are in the right place. This blog will deal with rootless containers, how they work, their practical applications and many more.
Without further delay, let's begin!
Table of Contents
- Introduction to Rootless Containers
- Prerequisites for Rootless Containers
- Rootless Containers vs Traditional Containers
- Rootless Containers - Initial Setup with Docker
- Rootless Container Management Tools
- Enhance Container Security with User Namespaces
Introduction to Rootless Containers
Rootless containers refer to containerization technology that allows you to run containers without requiring root (administrator) privileges on the host system. In simpler terms, they empower unprivileged users to work with containers.
They utilize technologies like user namespaces, overlay file systems, and network namespaces to achieve user-level isolation and security while running containerized applications.
An "unprivileged user" in this context refers to a regular user on a computer system who doesn't have special administrative privileges or the ability to make significant changes to the system.
Understanding Rootless Containers is valuable, and it's equally crucial to recognize what Rootless Containers do not encompass.
- Runtime as Root: When the container runtime itself still runs with root privileges, even if the containers inside it are non-root, it doesn't qualify as Rootless Containers.
- Excessive Setuid/Setcap Binaries: If a substantial part of the container runtime relies on setuid or setcap binaries (special permissions), it doesn't fit the definition of Rootless Containers. These binaries grant elevated permissions to users and could compromise security.
- Root User Mapping: If the root user inside a container is directly mapped to the root user outside the container, it doesn't meet the Rootless Containers criteria.
In simpler terms, Rootless Containers mean running containers without needing special admin powers for both the container system and the things inside it. If the container system itself or most of it still needs admin powers, or if it uses special permissions excessively, it's not fully Rootless Containers.

Examples of Rootless Containers:
- Docker rootless-mode
- Podman rootless-mode
- BuildKit rootless-mode
- LXC unprivileged-mode
- Apptainer userns-mode or fakeroot-mode
Prerequisites for Rootless Containers
Before getting into the topic, understanding and meeting the prerequisites for Rootless Containers is crucial. These foundational requirements determine whether your system can safely and effectively support this containerization approach.
They also ensure that doing so won't harm your system's security or slow it down. In other words, they set the stage for safe and efficient container use by regular users.
Here are some important prerequisites for setting up Rootless Containers from a technical standpoint:
- User Namespaces Support: The host operating system must support user namespaces. User namespaces are crucial for isolating user and group IDs inside the container from those outside, allowing user-level isolation.
- Overlay File System Support: An overlay file system, like OverlayFS, should be available and enabled on the host. OverlayFS is essential for creating layered file systems in containers, enabling efficient image management.
- Network Namespace Support: The host should support network namespaces. Network namespaces ensure that each container has its isolated network stack, preventing interference with the host's network configuration.
- Cgroups Configuration: Control groups (cgroups) should be properly configured on the host. Cgroups manage and limit resource usage by containers, including CPU, memory, and I/O, ensuring fair allocation among containers.
- Rootless Container Runtime: You need a container runtime that supports Rootless Containers, such as Podman or Docker in Rootless mode. These runtimes are designed to work without requiring root privileges.
Rootless Containers vs Traditional Containers
| Rootless Container | Traditional Container |
|---|---|
| Enhanced security with reduced attack surface by running containers without root privileges. | Security risks due to containers running with root privileges by default. |
| Strong isolation using user namespaces to protect the host system. | Less fine-grained user and group isolation within containers. |
| Daemonless operation for a simpler and more secure container runtime. | Central container daemon introduces complexity and potential vulnerabilities. |
| User-friendly, accessible containerization without root permissions. | Often require root access for container management. |
| Resource-efficient, suitable for resource-constrained environments. | May consume more resources due to central daemon overhead. |
| Compatibility with Docker and OCI standards for seamless integration. | Widespread use but a potential need for root access. |
Rootless Containers - Initial Setup with Docker
Creating rootless containers is a method for running containers without needing superuser (root) permissions, offering an added layer of security and isolation. Follow the steps given below to set up and configure rootless containers.
Step 1: Install Docker
Start by installing the latest version of the docker as it supports rootless containers. Follow the official Docker installation instructions for your operating system.
Step 2: Activating Rootless Mode
Following the installation of Docker, enable rootless mode by configuring the environment variable named DOCKER_ROOTLESS_ROOTLESSKIT.
echo 'export DOCKER_ROOTLESS_ROOTLESSKIT=1' >> ~/.bashrc
source ~/.bashrc
Step 3: Launching the Rootless Docker Daemon
Launching the Rootless Docker Daemon is done to create and manage a secure, isolated environment for rootless containers.
dockerd-rootless-setuptool.sh install
Step 4: Running Rootless Containers
You can now initiate and execute containers without the need for elevated root privileges. Simply employ familiar Docker commands like docker run to commence your containers. This capability enhances security and isolation while enabling standard container management tasks.
docker run -d -p 8080:80 nginx
Step 5: Container Management
Container management involves tasks such as starting, stopping, monitoring, and configuring network settings for containers, all while maintaining a heightened focus on security and resource isolation
Utilize commands like docker ps, docker stop, and docker rm to list, halt, and remove containers, respectively.
If you wish to completely remove the rootless Docker setup, use the following command,
dockerd-rootless-setuptool.sh uninstall
Rootless Container Management Tools
Several tools and platforms support rootless containers, offering users the ability to create, manage, and run containers securely as non-root users. These tools ensure that containerized applications are isolated from the host system while maintaining a higher level of security. In this context, let us see the overview of three popular tools for working with rootless containers.
1. Podman
Podman, a container management tool, offers a Docker-compatible interface for container creation and execution. Its key feature is the support for rootless containers, enabling secure container operation without needing root access. Podman is intentionally designed as a daemonless solution, prioritizing lightweight and enhanced security over Docker.
This tool has gained popularity among Linux users and system administrators who prioritize security while leveraging container technology. Podman's reputation is built on its user-friendliness, Docker compatibility, and flexibility in handling various container formats, making it a versatile option for container management and orchestration.
Here are some important Podman commands and their descriptions:
1. podman run
Create and run a new container from an image.
Example:
podman run -d --name my-container nginx2. podman ps
List running containers.
Example:
podman ps3. podman images
List container images available on your system.
Example:
podman images4. podman pull
Download a container image from a registry.
Example:
podman pull ubuntu:latest5. podman build
Build a new container image from a Dockerfile or a container root directory.
Example:
podman build -t my-custom-image .6. podman exec
Run a command inside a running container.
Example:
podman exec -it my-container bash7. podman stop
Stop a running container.
Example:
podman stop my-container8. podman start
Start a stopped container.
Example:
podman start my-container9. podman rm
Remove a container.
Example:
podman rm my-container10. podman rmi
Remove a container image.
Example:
podman rmi my-image11. podman logs
View the logs of a running container.
Example:
podman logs my-container12. podman inspect
Display detailed information about a container or image.
Example:
podman inspect my-container13. podman network
Manage podman networks.
Example:
podman network ls14. podman pod
Manage pods, which are groups of containers that share network and storage.
Example:
podman pod create my-pod15. podman volume
Manage volumes, which can be used to persist data between container runs.
Example:
podman volume create my-volume16. podman cp
Copy files between your host and a container.
Example:
podman cp my-container:/path/to/container/file /path/on/host2. Buildah
Buildah is a command-line tool for building OCI (Open Container Initiative) and Docker container images. It operates independently from conventional container engines and is especially beneficial for building container images in environments where security and precise control are critical. Buildah empowers users to create and modify container images without necessitating elevated privileges or a container daemon.
This makes it an ideal component in rootless container setups, where maintaining security and isolation while constructing container images is of utmost importance. When combined with tools like Podman, Buildah provides a secure and granular approach to managing container images in rootless container environments.
Here are some important Buildah commands and their descriptions:
1. buildah from
Create a new working container from a specified base image.
Example:
buildah from fedora2. buildah run
Run a command inside the working container.
Example:
buildah run mycontainer dnf install -y httpd3. buildah add
Copy files or directories into the working container.
Example:
buildah add mycontainer /local/path /container/path4. buildah copy
Copy files or directories from the working container to the host.
Example:
buildah copy mycontainer /container/path /local/path5. buildah commit
Create an image from the contents of the working container.
Example:
buildah commit mycontainer myimage6. buildah images
List the images on the system.
Example:
buildah images7. buildah containers
List the containers (working or running).
Example:
buildah containers8. buildah rmi
Remove an image.
Example:
buildah rmi myimage9. buildah push
Push an image to a container registry.
Example:
buildah push myimage docker://registry.example.com/myimage10. buildah bud
Build an image from a Dockerfile or a Buildah format file.
Example:
buildah bud -f Dockerfile -t myimage .11. buildah mount
Mount the working container's filesystem.
Example:
buildah mount mycontainer12. buildah umount
Unmount the working container's filesystem.
Example:
buildah umount mycontainer13. buildah inspect
Display detailed information about an image or container.
Example:
buildah inspect myimage14. buildah login and buildah logout
Log in to or log out of a container registry.
Example:
buildah login registry.example.com3. Docker with Rootless Mode
Docker offers a "rootless" mode starting from version 19.03. This mode enables users to operate Docker containers without needing elevated privileges, which enhances security by decreasing potential vulnerabilities. Users can effectively handle container tasks, such as creation and management, without root access, making Docker a suitable choice for security-focused environments.
Docker's rootless mode aligns with the principles of rootless containers, providing a secure means to utilize container technology while mitigating the security risks associated with running containers as the root user.
Here are some important Docker Rootless Mode commands:
1. Initialize Rootless Mode
To initialize Docker in Rootless Mode, you can use the following command:
dockerd-rootless-setuptool.sh install2. Start Docker in Rootless Mode
After initialization, you can start Docker in Rootless Mode with the following command:
systemctl --user start docker3. Stop Docker in Rootless Mode:
To stop Docker running in Rootless Mode, use:
systemctl --user stop docker4. Check Docker Status
To check the status of Docker in Rootless Mode:
systemctl --user status docker5. List Containers
List running containers:
docker ps6. Pull an Image
Pull a Docker image from a registry:
docker pull IMAGE_NAME:TAG7. Run a Container
Run a container in Rootless Mode:
docker run --rm -it IMAGE_NAME:TAG8. Build a Dockerfile
Build an image from a Dockerfile in Rootless Mode:
docker build -t IMAGE_NAME:TAG .9. Remove Containers and Images
- Remove a container:
docker rm CONTAINER_NAME_OR_ID- Remove an image:
docker rmi IMAGE_NAME:TAG10. Login to a Registry
Log in to a container registry (e.g., Docker Hub):
docker login11. Logout from a Registry
Log out from a container registry:
docker logout12. Inspect Container/Image
Get detailed information about a container or image:
docker inspect CONTAINER_NAME_OR_IDEnhance Container Security with User Namespaces
A user namespace is a security feature in operating systems, like Linux, that isolates and maps user and group IDs between a container and the host system. It enables processes in containers to run with reduced privileges, enhancing security by preventing unauthorized access to system resources and limiting the impact of potential security breaches. User namespaces are crucial for running secure, rootless containers.
Rootless container support is provided by container runtimes such as containerd and runc, which rely on user namespaces. User namespaces are used to establish separate user and group mappings for containers, enabling them to function without the need for root permissions.
Notably, containerd, as a high-level container runtime, utilizes runc as its underlying runtime, which in turn employs user namespaces to ensure the secure isolation and management of container processes. This approach enables non-privileged users to create and manage rootless containers while maintaining robust security measures.
Here's a step-by-step guide on how to enhance container security using user namespaces in rootless containers:
a.) If you're using Docker, make sure you have set up rootless Docker. You can typically do this by installing Docker and then running dockerd-rootless-setuptool.sh. Follow the instructions to configure rootless Docker.
b.) In the Docker configuration file (/etc/docker/daemon.json or ~/.docker/daemon.json for rootless Docker), add the following configuration to enable user namespaces:
{ "userns-remap": "default"}This will configure Docker to use the "default" user namespace for containers.
c.) Run the following command to create a user namespace mapping:
sudo echo "rootless:100000:65536" > /etc/subuid
sudo echo "rootless:100000:65536" > /etc/subgid
This example maps user rootless to a range of UIDs and GIDs from 100000 to 165535. You can adjust the range as needed.
d.) Restart Docker to apply the changes:
sudo systemctl restart dockere.) You can now run containers in rootless mode. For example:
docker run --rm -it ubuntuThis command will create and run an Ubuntu container in a user namespace with the specified mappings.
f.) Keep your system, Docker, and containers up to date with the latest security patches. Additionally, monitor container activity for any unusual behavior.
Conclusion
Rootless containers offer a vital solution in the world of container technology, focusing on security, user namespaces, and essential prerequisites. The initial setup is a critical step, configuring tools like Podman and Buildah to operate without root privileges, ensuring a secure foundation for running containers.
User namespaces play a pivotal role, mapping user and group IDs between the container and host to provide robust isolation while running containers with minimal privileges. Meeting prerequisites, such as having a non-root user, installing tools, and configuring group memberships, sets the stage for secure containerization.
As computing continues to advance, rootless containers remain a cornerstone, driving innovation and enhancing the security of containerized applications, making them an indispensable part of modern computing environments.
Atatus Container Monitoring
Container Monitoring with Atatus lets you track and analyze the performance, health, and resource utilization of containerized applications. It ensures that applications run optimally, helps detect and address issues early, and assists in resource allocation for efficient scaling.
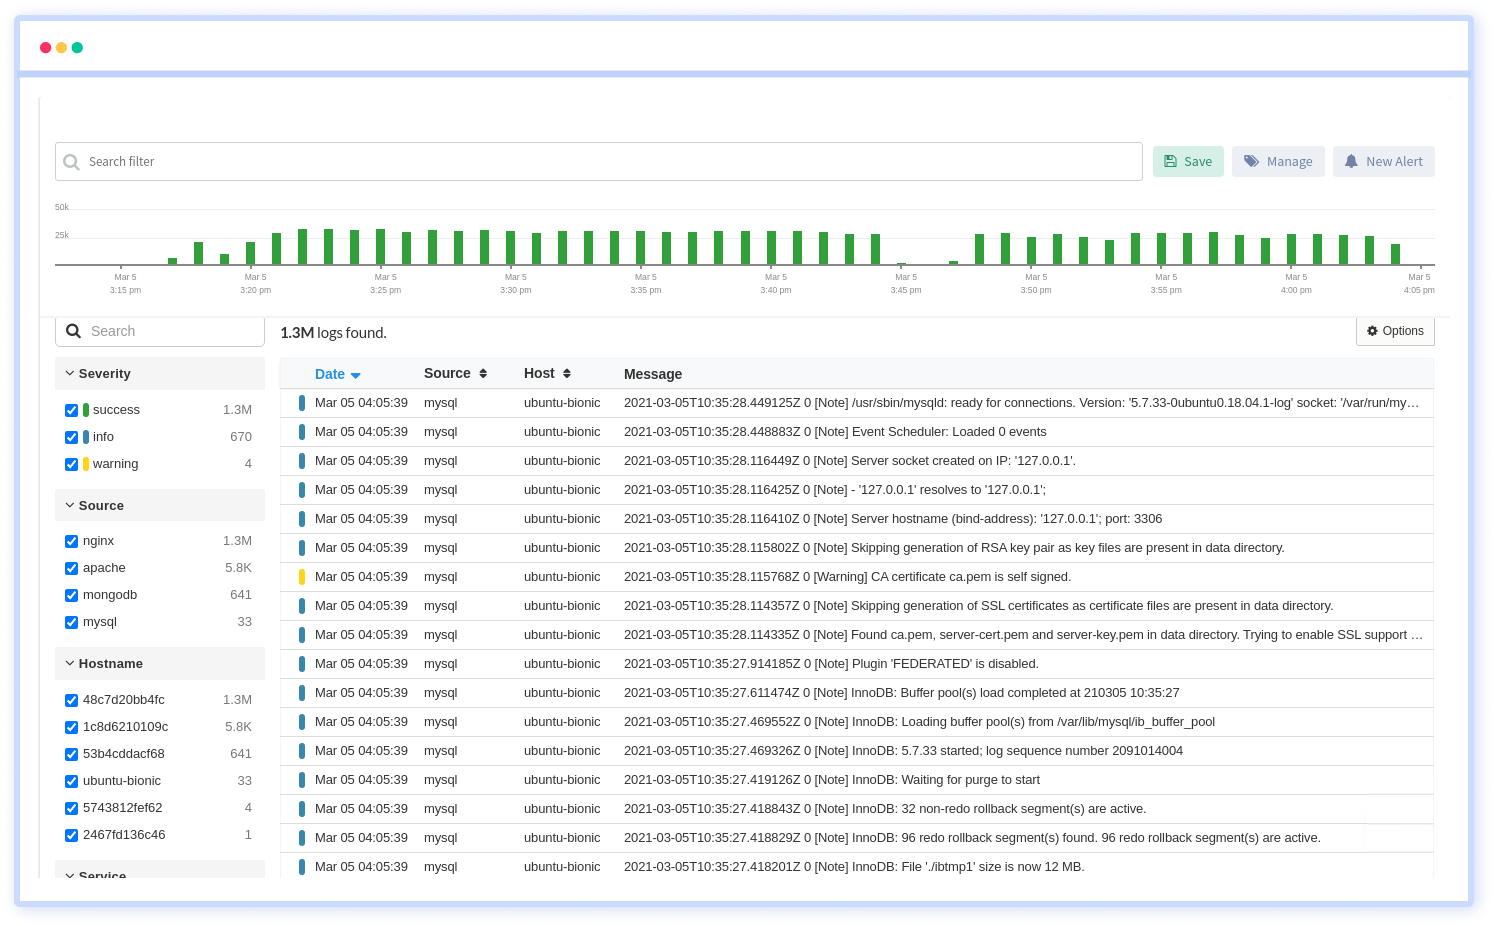
The metrics include CPU utilization, memory usage, disk I/O, network traffic, container uptime, response times, and error rates. These metrics provide insights into application performance and resource consumption.
Container monitoring enables proactive issue detection, reduces downtime, optimizes resource allocation, aids in capacity planning, and provides insights into application behavior for continuous improvement.
#1 Solution for Logs, Traces & Metrics
APM
Kubernetes
Logs
Synthetics
RUM
Serverless
Security
More

