WebSockets Tutorial: Going Real-time with Node and React
Everyone seems to be making chat apps these days, but messaging apps are merely the tip of the iceberg. Consider this for a moment, within the real-time domain, there are a plethora of different things you can create.
In the following post, we'll start with some fundamental concepts and work our way up to see how to go real-time with Node and React. You will have created a very simple real-time application by the end of this article.
That will be a lengthy post! Before we begin, grab a cup of coffee and take a seat!
What you will learn
- What is WebSocket?
- Is WebSockets a Protocol or a Transport?
- How does WebSocket Differ from HTTP?
- How do WebSocket Connections Work?
- How to Use WebSocket?
What is WebSocket?
WebSockets are a thin transport layer that sits on top of the TCP/IP stack on a device. The goal is to give web application developers an as-close-to-raw-as-possible TCP (Transport Control Protocol) communication layer while also introducing a few abstractions to remove some of the friction that would otherwise exist around how the web works.
WebSockets was first described in 2008, and browser support has been widespread since roughly 2010. The "real-time" web existed before WebSockets, but it was difficult to produce, usually slower, and delivered through hacking existing web technologies that weren't built for real-time applications.
This is because the web was constructed on the HTTP protocol, which was created solely as a request-response system. Open a connection, explain your request, receive a response, and then shut the connection.

This was great in the early days of the internet because we were mostly dealing with text documents and maybe a few other assets.
They also take into account the fact that the internet has additional security concerns that must be addressed to protect both users and service providers.
Is WebSockets a Protocol or a Transport?
You may have heard WebSockets referred to as both a "transport" and a "protocol" at the same time. The former is more accurate because, while they are protocols in the sense that they must follow a precise set of rules for establishing communication and enclosing transmitted data, the standard takes no position on how the data payload is arranged within the outer message envelope.
The specification gives the option for the client and server to agree on a protocol for formatting and interpreting the transmitted data.
To prevent ambiguity in the nomenclature, the standard refers to these as "subprotocols." JSON, XML, MQTT, and WAMP are examples of subprotocols. These can ensure that not only the structure of the data is agreed upon, but also how communication must begin, continue, and end.
Anything goes as long as both parties are aware of the protocol's requirements.
Most typical subprotocols are not limited to WebSocket-based communications because the WebSocket provides only a transport layer over which that messaging process can be implemented.
How does WebSocket Differ from HTTP?
In client-server communication, HTTP and WebSocket are both utilized as communication protocols.

HTTP is a one-way protocol in which the client sends the request and the server responds.
Let's say a user sends an HTTP or HTTPS request to the server; after receiving the request, the server sends the response to the client; each request is associated with a corresponding response; after sending the response, the connection is closed. Each HTTP or HTTPS request creates a new connection with the server, which is automatically ended after getting the response.
Each HTTP request message consists of the HTTP protocol version (HTTP/1.1, HTTP/2), HTTP methods (GET/POST, etc.), HTTP headers (content type, content length, host information, etc.), and the body, which contains the actual message being transferred to the server.
HTTP headers range in size from 200 bytes to 2 KB, with 700-800 bytes being the most frequent. When a web application employs more cookies and other client-side tools that use the agent's storage features, the HTTP header payload is reduced.
Creating web applications that required real-time data (such as gaming or chat apps) in the past necessitated abusing the HTTP protocol to achieve bidirectional data transfer.
There were a few methods for establishing real-time capabilities, but none of them worked as well as WebSockets. HTTP polling, HTTP streaming, and SSE all had disadvantages.
HTTP Polling
Polling the server at regular intervals was the first attempt to remedy the problem. The following is the HTTP long polling lifecycle:
- A client creates a request and awaits a response
- The server delays responding until a change, update, or a timeout occurs until the server had something to return to the client, the request remained "hanging"
- When the server makes a change or updates something, it sends a response to the client
- The client sends a fresh long poll request to listen to the next set of changes
Long polling had numerous flaws, including header overhead, latency, timeouts, caching, and so on.
HTTP Streaming
Even though the first request is kept open indefinitely, this approach eased the pain of network latency. Even after the server pushes the data, the request is never finished. HTTP polling uses the same first three lifecycle methods as HTTP streaming.
The request is never stopped when the response is given back to the client; the server maintains the connection open and delivers new updates whenever there is a change.
Server-sent Events (SSE)
The server pushes data to the client via SSE. SSE cannot be relied on entirely by a chat or gaming application. For example, consider the Facebook News Feed. As new entries are received, the server pushes them on the timeline. SSE is transmitted over HTTP and has a limit on the number of open connections.
Not only were these approaches inefficient, but the code that went into them made developers exhausted.
How do WebSocket Connections Work?
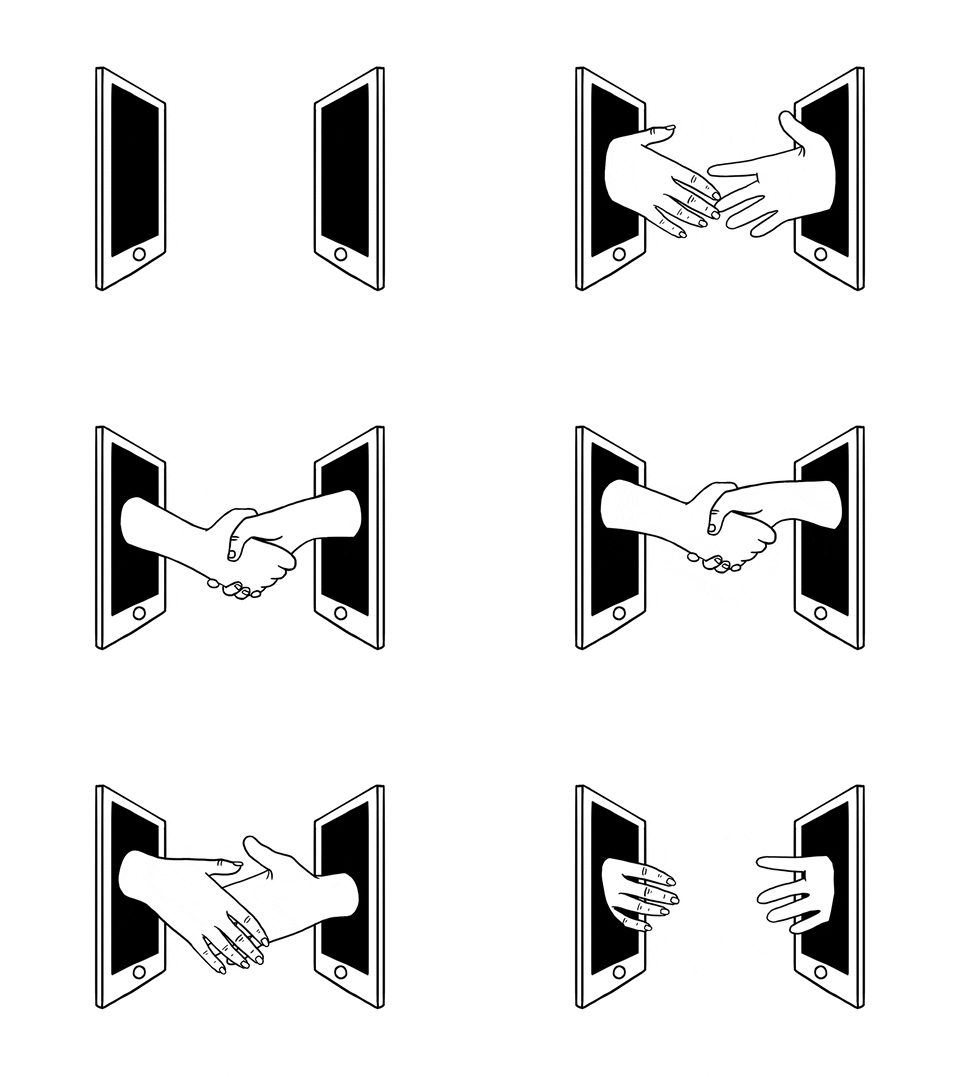
Before a client and server can exchange data, they must first establish a connection using the TCP layer. WebSockets serve as a transport layer for TCP.
Clients can utilize an HTTP/1.1 method called an upgrade header to switch their connection from HTTP to WebSockets once they've established a connection through an HTTP request/response pair.
A WebSocket handshake over TCP is used to create a WebSocket connection. The client and server also communicate which subprotocol will be utilized for their ongoing interactions during a new WebSocket handshake. After that, the connection will be formed using the WebSocket protocol.
WebSockets require a URI (Uniform Resource Identifier) to use a "ws:" or "wss:" scheme while running on the WebSocket protocol layer, similar to how HTTP URLs will always use an "http:" or "https:" scheme.
Reasons to Consider WebSockets for Real-time Communication
- WebSockets provide real-time updates and communication channels.
- WebSockets are HTML5-compliant and work with earlier HTML content. As a result, Google Chrome, Apple Safari, Mozilla Firefox, and other current web browsers support them.
- WebSockets are also cross-platform, working on Android, iOS, the web, and desktop applications.
- Many WebSocket connections can be open on a single server at the same time, and multiple connections with the same client can be established, allowing for scalability.
- WebSockets may stream data via several proxies and firewalls.
- The Javascript library Socket.io is one of the open-source resources and tutorials for incorporating WebSockets in an application.
How to Use WebSocket?
Full-duplex or two-way communication between a client and a server has come a long way on the web. The basic purpose of the WebSocket protocol is to allow clients and servers to communicate in real-time over a single TCP socket connection.
The WebSocket protocol simply has two goals:
- To establish a handshake
- To facilitate data flow
After the server and client have established handshakes, they can freely transfer data with each other with low overhead.
Let's have a look at how WebSockets accomplishes those goals. To accomplish this, I'll start a Node.js server and connect it to a React.js client.
#1 WebSocket Establishes a Handshake between Server and Client

Establishing a Handshake at the Server Level
The HTTP server and the WebSocket server can both be started on the same port. The snippet below demonstrates how to construct a simple HTTP server. We connect the WebSocket server to the HTTP port when it's been created:
const webSocketServer = require('websocket').server;
const http = require('http');
const webSocketServerPort = 8000;

// Start the http server and the websocket server
const server = http.createServer();
server.listen(webSocketServerPort);

const wsServer = new webSocketServer({
	httpServer: server
});
After the WebSocket server is set up, we must accept the handshake when the client sends a request. When we receive a request from the browser, we create an object in my code for each connected client with a unique user-id.
// I'm maintaining all active connections in this object
const clients = {};

// Generates unique userid for every user.
const generateUniqueID = () => {

	const s4 = () => Math.floor((1 + Math.random()) * 0x10000).toString(16).substring(1);

	return s4() + '-' + s4() + '-' + s4();
};

wsServer.on('request', function(request) {
	var userID = generateUniqueID();

	console.log((new Date()) + ' Recieved a new connection from origin ' + request.origin + '.');

	// You can rewrite this part of the code to accept only the requests from allowed origin
	const connection = request.accept(null, request.origin);

	clients[userID] = connection;
	console.log('connected: ' + userID)

});
The client transmits the security WebSocket key in the request headers while submitting a regular HTTP request to establish a connection. This value is encoded and hashed by the server, and a predefined GUID is added. It replicates the created value in the server-sent handshake's security WebSocket accept.
The handshake is completed with status code 101 once the request is accepted by the server. If the browser displays a status code other than 101, the WebSocket upgrade failed, and traditional HTTP semantics will be applied.
Learn more about the HTTP status code.
The header field security WebSocket key specifies whether or not the server is willing to accept the connection. The WebSocket connection has failed if the response does not contain an Upgrade header field or if the Upgrade field does not equal WebSocket.
The following is an example of a successful server handshake:
HTTP GET ws: //127.0.0.1:8000/ 101 Switching Protocols
	Connection: Upgrade
Sec - WebSocket - Accept: Nn / XHq0wK1oO5RTtriEWwR4F7Zw = Upgrade: websocket
Establishing a Handshake at the Client Level
To create a connection with the server, we are going to use the same WebSocket package that we're using on the server (the WebSocket API in Web IDL is being standardized by the W3C). The browser console will show WebSocket Client Connected as soon as the server accepts the request.
The following is the initial scaffold for connecting to the server:
import React, { Component } from 'react';
import { w3cwebsocket as W3CWebSocket } from "websocket";

const client = new W3CWebSocket('ws://127.0.0.1:9000');

class App extends Component {

    componentWillMount() {

        client.onopen = () => {
            console.log('WebSocket Client Connected');
        };

        client.onmessage = (message) => {
            console.log(message);
        };
    }

    render() {
        return ( <div> Practical Intro To WebSockets. </div>);
    }
}

export default App;
The client sends the following headers to establish the handshake:
HTTP GET ws: //127.0.0.1:8000/ 101 Switching Protocols
	Upgrade: websocket
Connection: Upgrade
Sec - WebSocket - Key: vISxbQhM64Vzcr / CD7WHnw == Origin: http: //localhost:3000
	Sec - WebSocket - Version: 13
The WebSocket connection can now transport messages as they are received once the client and server have established a connection through mutual handshakes, achieving the protocol's second goal.
#2 Message Transmission in Real-time
We are going to create a simple real-time document editor that allows users to collaborate and update a document in real-time. We are keeping track of two events:
- User Activities - We send out a message to all other connected clients whenever a user joins or leaves.
- Content Changes - When content in the editor is modified, it is broadcast to all other clients connected to the network.
Using this protocol, we can send and receive messages as binary data or UTF-8.
Note: If we understand the socket events (onopen(), onclose(), and onmessage()), we can easily understand and implement WebSockets. The terminologies are the same on both the client and server sides.
Send and Listen to Messages on the Client-side using WebSocket
We send a message to the server using the client.send to deliver the updated data to the server when a new user joins or when content changes.
/* Notify when a user joins */
logInUser = () => {
    const username = this.username.value;
    if (username.trim()) {
        const data = {
            username
        };
        this.setState({
            ...data
        }, () => {
            client.send(JSON.stringify({
                ...data,
                type: "userevent"
            }));
        });
    }
}

/* Notify when content changes */
onEditorStateChange = (text) => {
    client.send(JSON.stringify({
        type: "contentchange",
        username: this.state.username,
        content: text
    }));
};
It's also simple to listen to messages from the server:
componentWillMount() {

    client.onopen = () => {
        console.log('WebSocket Client Connected');
    };

    client.onmessage = (message) => {

        const dataFromServer = JSON.parse(message.data);
        const stateToChange = {};

        if (dataFromServer.type === "userevent") {
            stateToChange.currentUsers = Object.values(dataFromServer.data.users);
        } else if (dataFromServer.type === "contentchange") {
            stateToChange.text = dataFromServer.data.editorContent || contentDefaultMessage;
        }

        stateToChange.userActivity = dataFromServer.data.userActivity;
        this.setState({
            ...stateToChange
        });
    };
}
Send and Listen to Messages on the Server-side using WebSockets
All we have to do now is catch the incoming message on the server and send it to all WebSocket clients.
And this is one of the key distinctions between Socket.IO and WebSocket: using WebSockets, we must manually transmit the message to all clients. Since Socket.IO is a full-fledged library, it can take care of this on its own.
// I'm maintaining all active connections in this object
const clients = {};

// Generates unique userid for everyuser.
const generateUniqueID = () => {

    const s4 = () => Math.floor((1 + Math.random()) * 0x10000).toString(16).substring(1);

    return s4() + '-' + s4() + '-' + s4();
};

wsServer.on('request', function(request) {

    var userID = getUniqueID();
    console.log((new Date()) + ' Recieved a new connection from origin ' + request.origin + '.');

    // You can rewrite this part of the code to accept only the requests from allowed origin
    const connection = request.accept(null, request.origin);
    clients[userID] = connection;

    console.log('connected: ' + userID);
});
When the browser is shut down, what happens?
In this instance, the WebSocket triggers the close event, allowing us to write the logic to terminate the current user's connection. When a user quits the document, it broadcast a message to the remaining users in my code:
connection.on('close', function(connection) {

    console.log((new Date()) + " Peer " + userID + " disconnected.");
    const json = {
        type: 'user_event'
    };

    userActivity.push(`${users[userID].username} left the document`);
    json.data = {
        users,
        userActivity
    };

    delete clients[userID];
    delete users[userID];

    sendMessage(JSON.stringify(json));
});
This application's source code is hosted on GitHub by AvanthikaMeenakshi.
Conclusion
WebSockets are an effective tool for developing real-time functionality on the web, mobile devices, and desktop PCs, but they are not a one-size-fits-all solution.
WebSockets are simply one tool in a larger toolbox when it comes to developing real-time, communication-based applications. It is feasible to design a better, more scalable real-time application by building on the fundamental WebSocket protocol and incorporating other approaches such as SSE or long polling.
Also, we strongly advise using WebSockets before attempting to use Socket.IO or other accessible libraries.
Monitor Your JavaScript Applications with Atatus
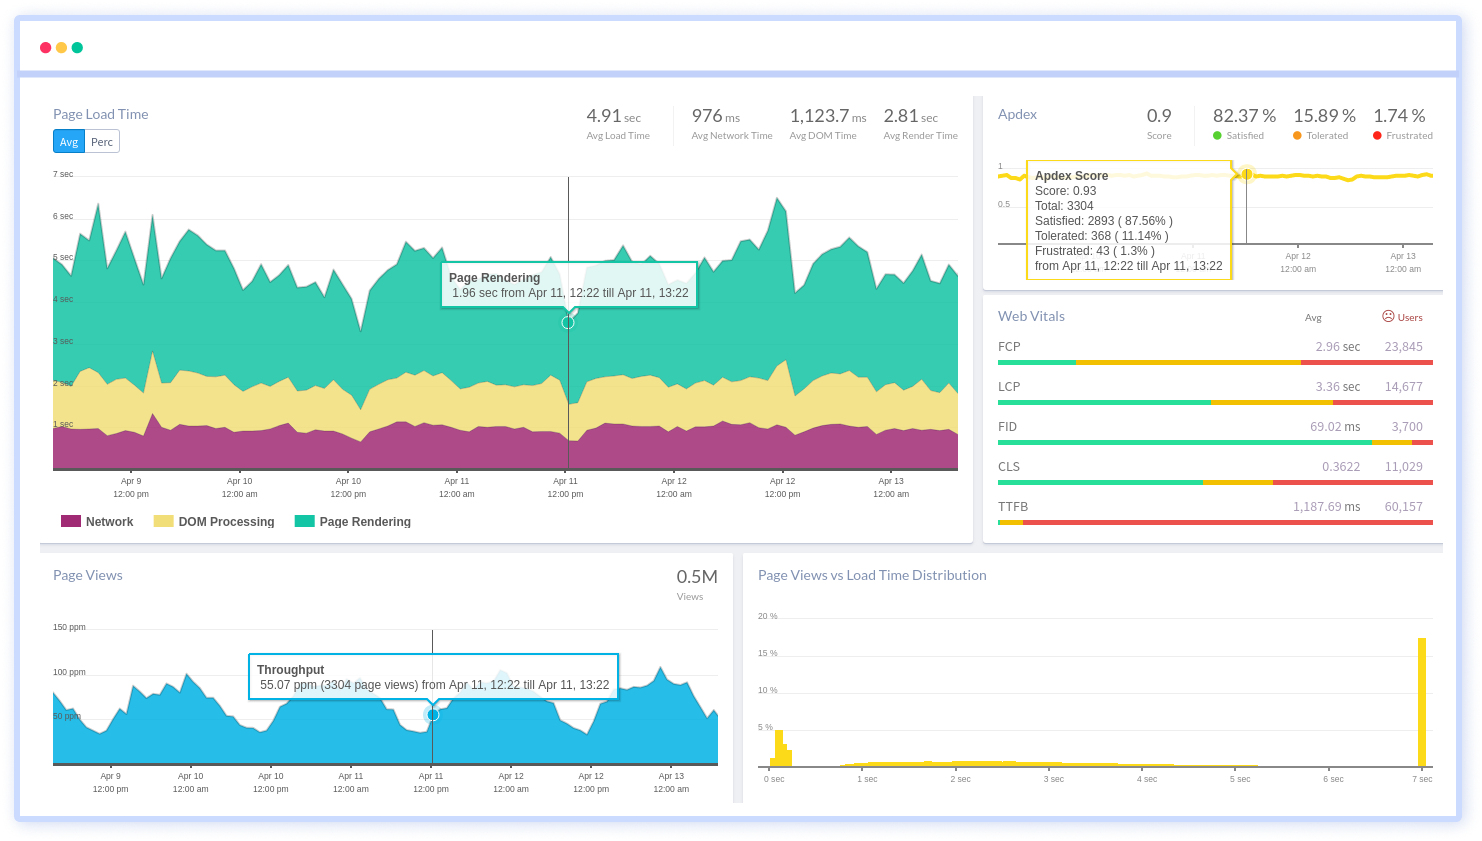
Atatus keeps track of your JavaScript application to give you a complete picture of your clients' end-user experience. You can determine the source of delayed load times, route changes, and other issues by identifying frontend performance bottlenecks for each page request.

To make bug fixing easier, every JavaScript error is captured with a full stack trace and the specific line of source code marked. To assist you in resolving the JavaScript error, look at the user activities, console logs, and all JavaScript events that occurred at the moment. Error and exception alerts can be sent by email, Slack, PagerDuty, or webhooks.
#1 Solution for Logs, Traces & Metrics
APM
Kubernetes
Logs
Synthetics
RUM
Serverless
Security
More


