Mastering useState: Exploring State Management in React
If you’re new in the world of React development, you might have encountered instances where you need to have state variables in functional components.
In such a scenario using the useState() hook can be of great aid for efficient project completion. With useState you can easily store state variables in functional components of your React project for enhanced performance.
This blog will help you understand in-depth about useState hook and help you implement them in real-time scenarios with ease as well.
Table of contents:
- Introduction to useState React Hook
- Getting started with implementation of the useState in React
- How to use the useState React hook to update state?
- Methods to use Object as State variable in useState React hook
- useReducer hook
#1 Introduction to useState React Hook
React Hooks are basically functions that help developers in adding in state variables to function components in order to effectively direct the lifecycle methods within the class. When we implement React.useState hook within a component it assists developers in generating a singular state associated with the function component.
The useState hook can be extensively used for the local component states. However, if you’re working on large-scale development projects, using just the useState hook might not be enough and you’ll have to eventually explore additional state management solutions.
Now that you have a clear idea about useState React hooks, let’s dive head-first into its implementation with the in-detail tutorial below.
#2 Getting started with implementation of the useState in React
Importing the useState hook in your React project is pretty easy. Just follow the syntax mentioned below to get started in an instant:
import React, { useState } from 'react';However, in contrary to the state objects that effectively allow developers to declare multiple state variables while using useState as mentioned above you can only declare a single state and directly includes the value of the state variable in the form of an argument as mentioned in the example below:
const [state, setState] = useState(initialValue);

// example

const [color, setColor] = useState("Blue");
To initialize useState as a function
Further, if the initial state is the result of an expensive computation process, you can lazily initialize the functions as given in the example. In this, the initial value will be assigned during the process of the initial render and during the subsequent renders the argument in the useState hook would be put aside and the current value will be retrieved effectively.
const Text = () => {
   const textState = useState( () => expensiveComputation() );
   /* ... */
}
useState returning an array
When you use useState for functions where the first variable is a state variable and the second one updates the value of the variable it usually returns an array.
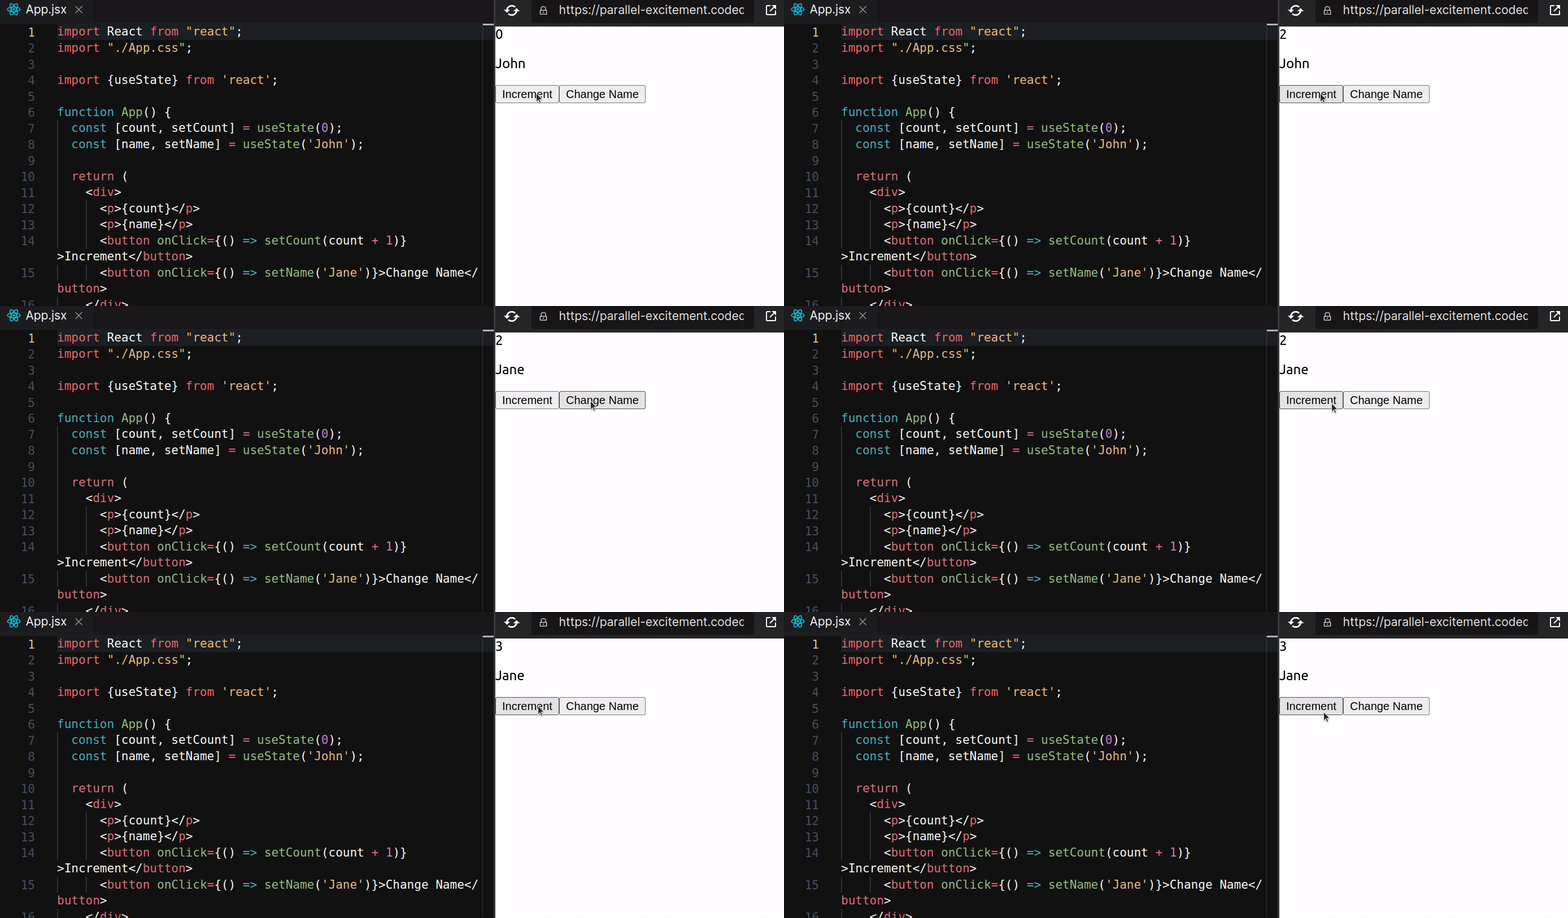
Here is an example of useState returning an array in a React functional component:
import React, { useState } from 'react';

function increment() {
  const [count, setCount] = useState(0);
  const [name, setName] = useState('John');

  return (
    <div>
      <p>{count}</p>
      <p>{name}</p>
      <button onClick={() => setCount(count + 1)}>Increment</button>
      <button onClick={() => setName('Jane')}>Change Name</button>
    </div>
  );
}
In this example, useState is called twice: once to create the count state variable and its update function, and again to create the name state variable and its update function. Both useState calls return an array with two elements: the current value of the state variable, and a function to update it.
The count and name state variables are then used in the component to display their current values, and the update functions are used in the buttons to increment the count or change the name when the buttons are clicked.
By returning an array from useState, it is possible to have multiple state variables and update functions in a single functional component. This can be useful for managing complex state in a React application.
However, if the useState returns an object in the case of an array assigning custom names in such cases can become extremely complicated. In such scenarios you can alternatively use the useState hook as mentioned below:
// Without using object destructuring
const textState = useState( '' );
const text = textState.state;
const setText = textState

// Using object destructuring
const { state: text, setState: setText } = useState( '' );
const { state: list, setState: setList } = useState( [] );
Here we are assuming the properties of the object to be the set and setState.
#3 How to use the useState React hook to update state?
Now that you are fairly aware of how you can effectively use the useState React Hook let’s get into a bit more complicated aspects of it. One of the most common real-time use is to update the state variable using the useState React Hook.
import React, { useState } from 'react';

function update() {

  const [user, setUser] = useState({
    name: 'John',
    email: 'john@example.com',
  });

  return (
    <div>
      <p>Name: {user.name}</p>
      <p>Email: {user.email}</p>
      <button onClick={() => setUser({ ...user, name: 'Jane' })}>
        Change Name
      </button>
    </div>
  );
}
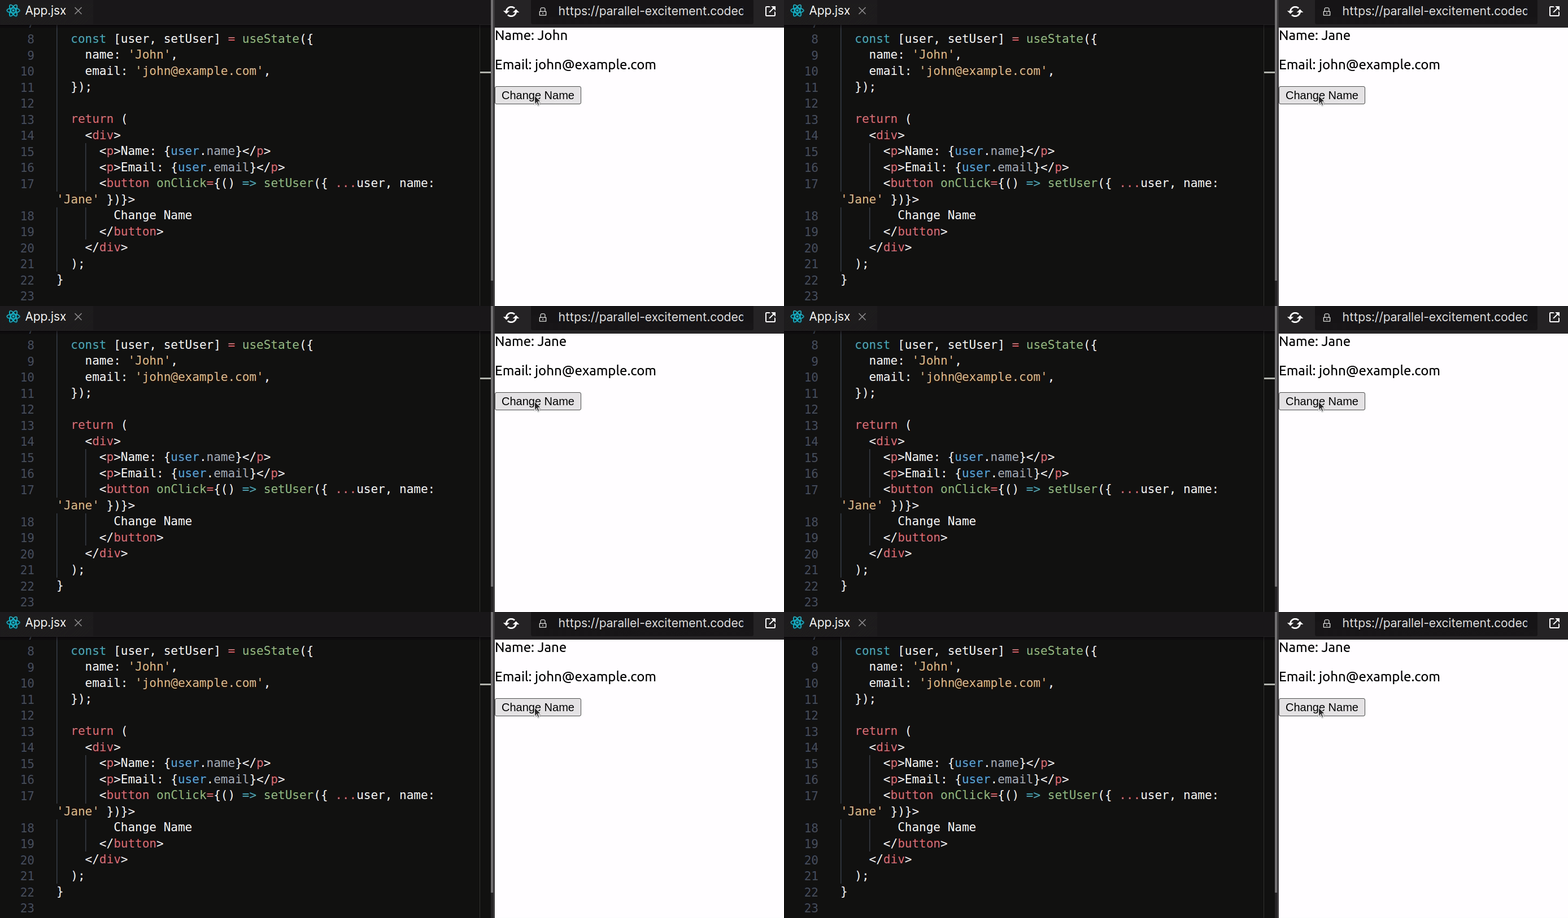
In the above example, useState is called with an initial value of an object for the user state variable. This call to useState returns an array with two elements: the current value of user, which is an object with the properties name and email, and a function to update the value of user.
The current value of user is displayed in the component, and the update function is used in the button to change the value of user.name to 'Jane' when the button is clicked.
To update the state using the useState hook, you simply call the update function that is returned by useState, passing in the new value for the state variable. In this example, the update function is called in the button's onClick event handler with the new value for user, which is a new object that is created by spreading the existing user object and then setting the name property to 'Jane'. This updates the value of user in the component's state, and the new value is displayed in the component.

Overall, to use the useState hook to update state, you call useState to create a state variable and its update function, and then call the update function with the new value for the state variable whenever you want to update the state.
Learn about React Hook Forms in this blog post - How to use React Hook Form for Crafting Interactive Forms?
#4 Methods to use Object as State variable in useState React hook
In React, it is possible to use an object as a state variable with the useState hook. To use an object as a state variable, you can pass the initial object to the useState hook as follows:
const [state, setState] = useState({ /* initial object */ });1. Spread operator (...)
Use the spread operator (...) to spread the properties of the existing state object into a new object, and then update the desired properties. For example:
setState({ ...state, name: "Jane" });2. Object.assign()
Use the Object.assign() method to create a new object with the updated properties. For example:
setState(Object.assign({}, state, { name: "Jane" }));
3. setState() function
Use the setState() function to directly update the properties of the state object. For example:
setState(prevState => ({
  ...prevState,
  name: "Jane"
}));
4. Functional form of setState()
Use the functional form of setState() to update the state object. In this method, you pass a function to setState() which receives the previous state as an argument and returns an updated state object. For example:
setState(prevState => {
  return {
    ...prevState,
    name: "Jane"
  };
});
Overall, each of these methods can be used to update an object as a state variable with the useState hook in React. The specific method you choose will depend on your personal preferences and the needs of your project.
Ways to effectively update State in Nested Object
A nested object allows the React developers to store the state variables in one place effectively for better functionality. However, when you work with nested objects, the Object.assign and spread syntax provides a shallow copy rather than offering a deep copy.
To solve this, let us take the following example and try to update the text property:
const [textObj, setText] = useState({
  author: '',
  text: {
    id: 1,
    text: ''
  }
});
For this, let’s start by copying the fields of the original object to a new object:
// Correct

setText(prevState => ({
  ...prevState,           // copy all other field/objects
  text: {                 // recreate the object that contains the field to update
    ...prevState.text,    // copy all the fields of the object
    text: 'My text'       // overwrite the value of the field to update
  }
}));
In a similar fashion, you can proceed to update other fields as well in case you’re working on nested objects.
#5 useReducer Hook
The useReducer hook is a hook in React that allows you to manage state in your functional components. It is similar to the useState hook, but it provides more powerful capabilities for managing state.
The useReducer hook takes two arguments: a reducer function and an initial state value. The reducer function is a pure function that takes the current state and an action, and returns a new state. The initial state value is the state that the reducer function will use when the component is first rendered.
Here is an example of how you might use the useReducer hook:
import React, { useReducer } from 'react';

function todoReducer(state, action) {
  switch (action.type) {
    case 'ADD_TODO':
      return {
        ...state,
        todos: [...state.todos, action.todo]
      };
    case 'REMOVE_TODO':
      return {
        ...state,
        todos: state.todos.filter(todo => todo.id !== action.id)
      };
    default:
      return state;
  }
}

function TodoList() {
  const [state, dispatch] = useReducer(todoReducer, { todos: [] });

  const addTodo = todo => dispatch({ type: 'ADD_TODO', todo });
  const removeTodo = id => dispatch({ type: 'REMOVE_TODO', id });

  return (
    <div>
      {state.todos.map(todo => (
        <Todo key={todo.id} todo={todo} onRemove={removeTodo} />
      ))}
      <AddTodoForm onAdd={addTodo} />
    </div>
  );
}
The major difference between useReducer and useState in react is that in useState you can invoke the function of state updater whereas in useReducer developers invoke dispatch to pass it an action.
Final Words on useState React Hooks
useState in React hooks can be a game changer for including state variables within the functional components. The useState can help you update the state within an array, use an object as a state variable, and update the state within nested state objects as well.
This allows you to access an even greater number of functionalities for your React projects effectively. So, follow the tutorials mentioned above today to make the best out of useState react hooks while working on React project.
React Performance Monitoring with Atatus RUM
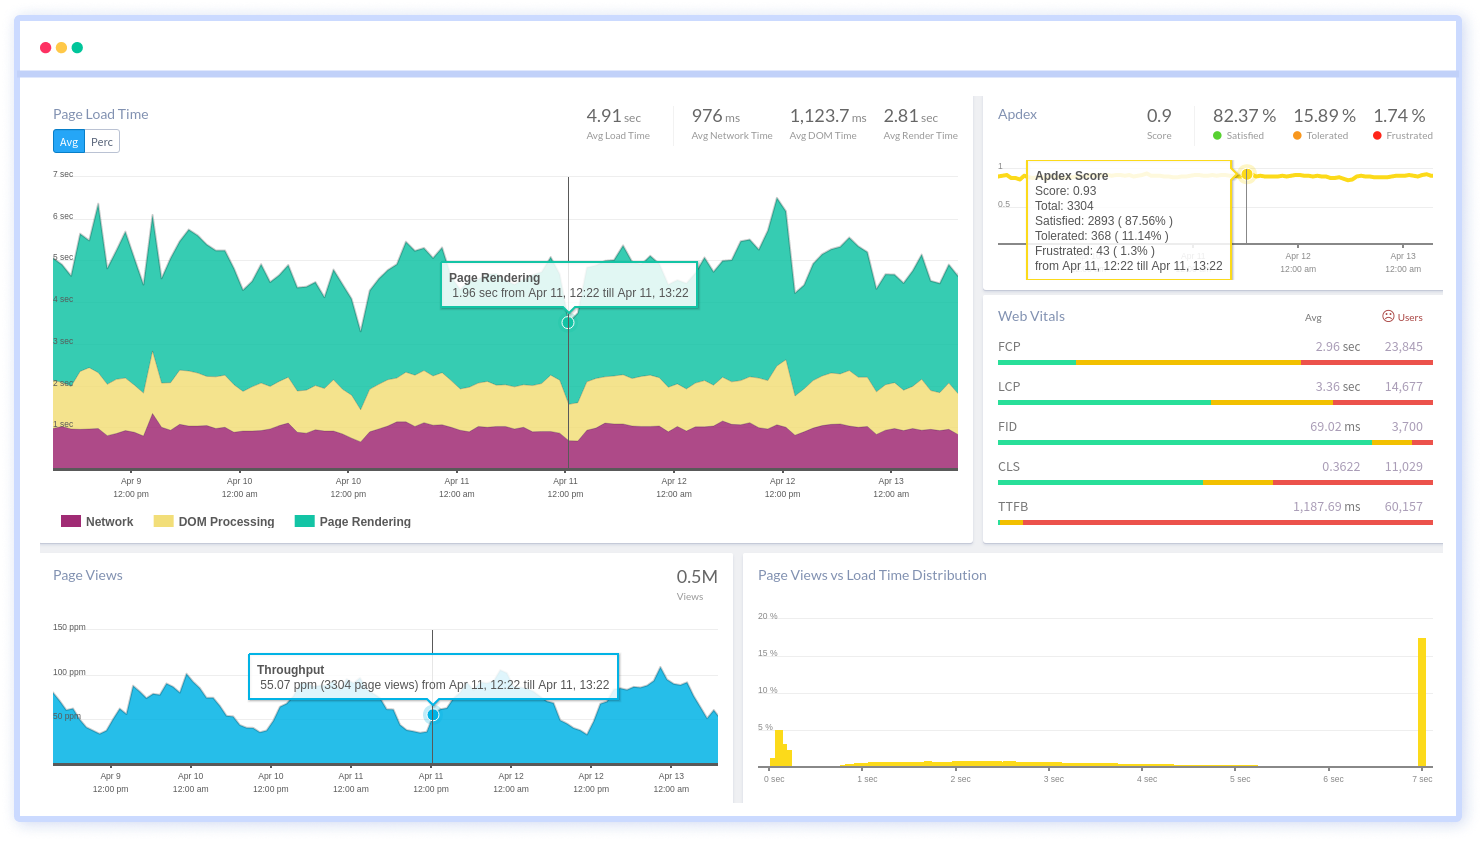
Visualize React errors and performance issues influencing your end-user experience. With React performance monitoring of Atatus you can identify and resolve problems faster with in-depth data points that assist you in analyzing and resolving them.
Using Atatus, you can get an overview of how your customers experience your React app. Learn how to identify the root cause of a slow load time, route change, and more on the front end by identifying performance bottlenecks in the front end.

Ensure that your React app sends all XHR requests. Monitoring and measuring the response times and failure rates of XHR calls. Optimize AJAX request performance by identifying slow and failed calls. Analyze AJAX calls in real time based on the browser, the user, the version, the tag, and other attributes.
Identify the reasons behind bad front-end performance and slow page loading that are impacting your customers. Inspect individual users who are experiencing poor performance because of slow pages, React exceptions or a failing AJAX method.
Identify how your end users' experience is impacted by the network or geography. In addition to identifying slow React assets, long load times, and errors in sessions, session traces provide a waterfall view of the session.
Take a closer look at your React app performance with Atatus. To get started activate Atatus free-trial for 14 days!
#1 Solution for Logs, Traces & Metrics
APM
Kubernetes
Logs
Synthetics
RUM
Serverless
Security
More


